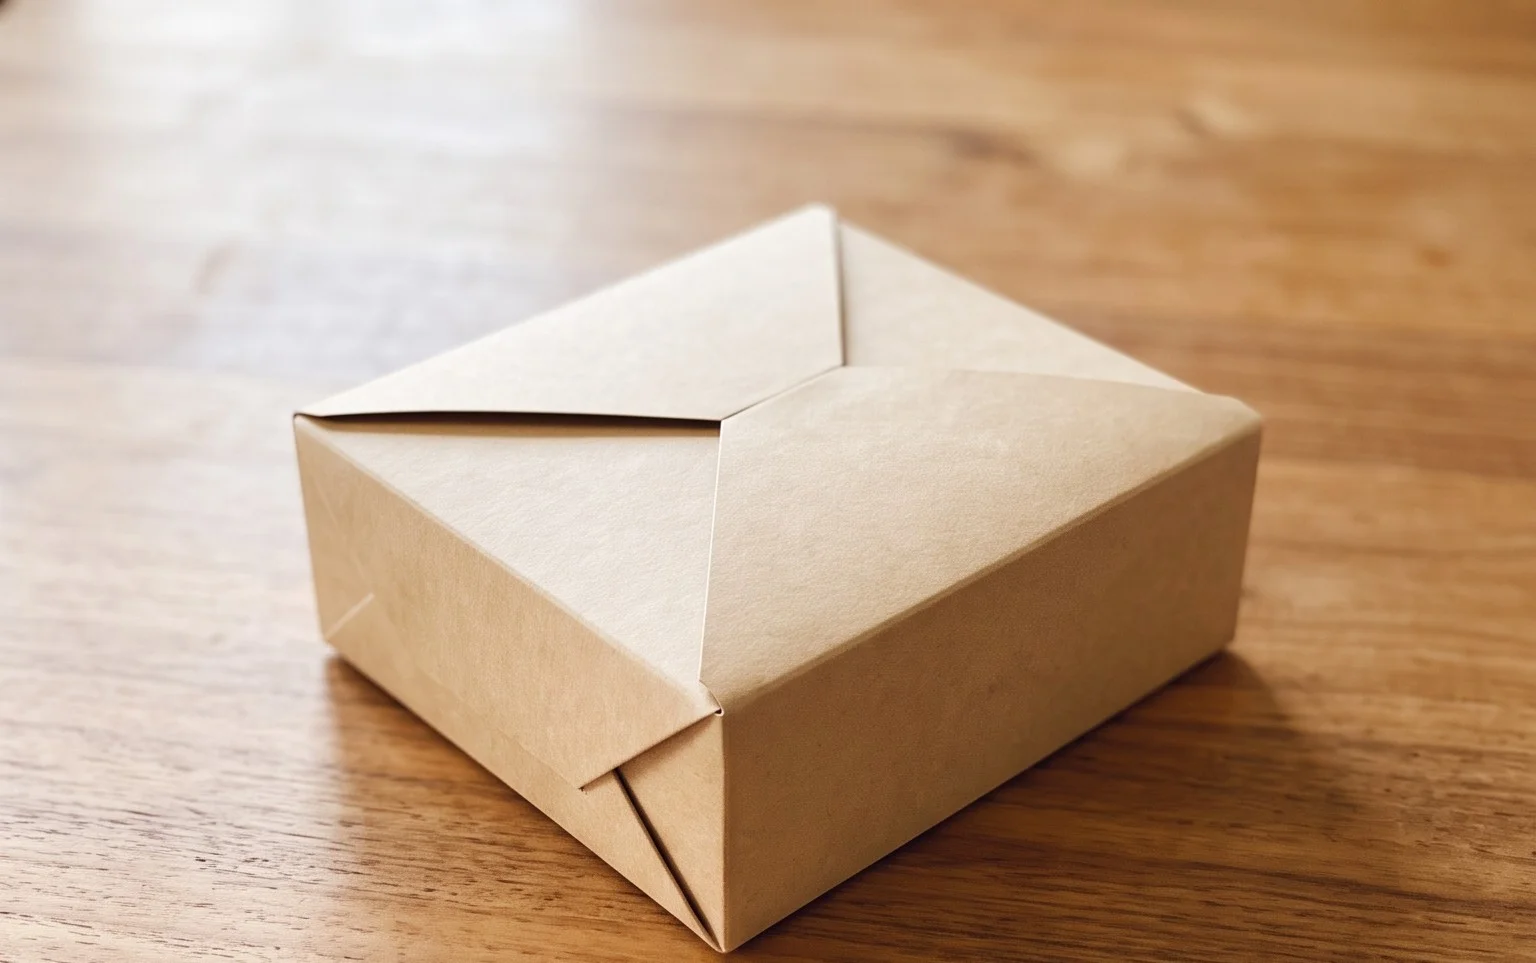
How to Fold a Paper Box is our next exciting adventure here at Creativebug! Today, we’re going to transform a simple square of paper into a charming, sturdy little box, perfect for holding small treasures or thoughtful gifts. Imagine a neat, clean-lined container with crisp corners – it’s incredibly satisfying to create! This project is absolutely ideal for complete beginners, a fun activity for kids, or anyone looking to add a handmade touch to their presents. You can complete this delightful project in about 15-20 minutes.
Throughout this class, you’ll learn fundamental origami folding techniques that will build your confidence with paper crafts. We’ll guide you step-by-step, making sure every fold is clear and easy to follow. Get ready to discover the magic of turning flat paper into something truly functional and beautiful!
DIY: How to Fold a Paper Box – Creativebug
Hello crafters! I’m so excited to guide you through folding your very own beautiful paper box. This is such a versatile project, perfect for storing small treasures, presenting gifts, or just adding a touch of handmade charm to your space. We’ll go through every step together, and I promise, by the end, you’ll have a lovely box you’ll be proud of.
Choosing Your Paper: The Foundation of Your Box
The paper you choose is really important, and thankfully, there are lots of great options! For this box, I recommend using paper that’s a good weight for folding.
- Type: Standard origami paper is fantastic because it’s designed to be folded crisply and holds its shape well. If you don’t have origami paper, good quality cardstock that’s not too thick will work. You want something that has a little heft but isn’t so stiff that it becomes difficult to crease.
- Weight: Aim for a paper weight around 70-100 gsm (grams per square meter) or a cardstock that feels sturdy but not like cardboard.
- Size: For beginners, I suggest starting with a square piece of paper that’s at least 6 inches by 6 inches (15 cm by 15 cm). Larger sizes can be easier to manipulate as you learn.
- Single or Double-Sided: You can absolutely use single-sided paper! If you do, make sure the coloured or patterned side is facing down on your work surface when you start, so the inside of your box will show the pattern. Double-sided paper is also wonderful and will create a beautiful effect where both the inside and outside of your box have colour or pattern.
Mastering the Base Folds: Creating Crisp Creases
Before we dive into the box construction, let’s talk about making those essential folds clean and sharp. A good crease is the secret to a professional-looking origami model.
When you make a fold, take your time to align the edges and corners perfectly. Once they are aligned, use your thumbnail or a bone folder (if you have one) to press down firmly along the entire length of the fold. This is often called “creasing.” For particularly stubborn folds, you can even run your fingernail over the crease a few times. The goal is a sharp, defined line.
Your Step-by-Step Origami Box Fold Sequence
Let’s get folding! Remember, take your time and enjoy the process. We’re going to make a simple yet elegant box.
- Start with your paper. Place your square piece of paper on a flat surface with the side you want to be the *inside* of your box facing *up* towards you. If you’re using single-sided paper, this means the coloured or patterned side is facing down.
- Fold in half. Bring the bottom edge of the paper up to meet the top edge. Make sure the corners align perfectly. Crease firmly along the horizontal fold. You now have a rectangle.
- Unfold. Open the paper back up to its original square. You should have a horizontal crease running across the middle.
- Fold in half the other way. Now, bring the left edge of the paper over to meet the right edge. Align the corners precisely. Crease firmly along the vertical fold. You now have a rectangle again.
- Unfold. Open the paper back up to its original square. You should now have two intersecting creases, forming a cross in the center of your paper.
- Fold the bottom edge to the center. Take the bottom edge of the square and bring it up to meet the horizontal crease you made earlier (the one that runs across the middle). Align the bottom edge with the center crease perfectly. Crease firmly.
- Fold the top edge to the center. Now, take the top edge of the square and bring it down to meet the same horizontal center crease. Align this edge with the center crease. Crease firmly. You should now have two horizontal folds, making your paper look like a tall, thin rectangle with two extra folded flaps at the top and bottom.
- Fold the left edge to the center. Turn your paper so the shorter, folded edges are on the left and right. Take the left edge and bring it over to meet the vertical center crease you made in step 4. Align it precisely. Crease firmly.
- Fold the right edge to the center. Take the right edge and bring it over to meet the same vertical center crease. Align it precisely. Crease firmly. Your paper should now resemble a smaller square in the center, with four equal flaps extending outwards.
- Unfold the side flaps. You will now unfold the two side flaps you just created (the ones from steps 8 and 9). Keep the top and bottom flaps folded. You should have your original square with the center crease, and the top and bottom sections still folded to the center.
- Make the corner folds. This is where your box starts to take shape! Look at the bottom folded section. You’ll see a small square at the bottom left corner of this section. Fold this small square diagonally upwards, so the left corner of that small square meets the point where the bottom edge and the left edge of your paper intersect. In simpler terms, you’re making a diagonal fold in the corner of the flap. Crease firmly.
- Repeat for the other bottom corner. Do the same for the bottom right corner of the bottom folded section. Fold it diagonally upwards so the right corner of that small square meets the point where the bottom edge and the right edge of your paper intersect. Crease firmly.
- Now for the side flaps. Look at the left flap that is currently folded to the center. At the bottom of this flap, you’ll see a small angled corner. You want to fold this small angled corner inwards so that its edge aligns with the vertical center crease. Crease firmly.
- Repeat for the other side flap. Do the same for the right flap. Fold its small angled bottom corner inwards so that its edge aligns with the vertical center crease. Crease firmly.
- Create the box sides. Now, gently lift the bottom edge of your paper upwards. As you do this, you’ll see the diagonal folds you made in steps 11 and 12 will naturally start to form the sides of your box. The creases you made in steps 13 and 14 will help keep these sides in place.
- Bring up the side panels. You should now have two side panels that are ready to be folded upwards. Gently bring the left side panel upwards, aligning its bottom edge with the side of the box base. The small folded-in corners will help secure it. Crease the edge where the side panel meets the base.
- Repeat for the other side panel. Bring the right side panel upwards, aligning its bottom edge with the side of the box base. Crease the edge where this side panel meets the base.
- Form the final wall. You will have one last flap to fold upwards to complete the fourth wall of your box. This is the flap that was originally the top edge folded to the center. Gently lift this flap upwards.
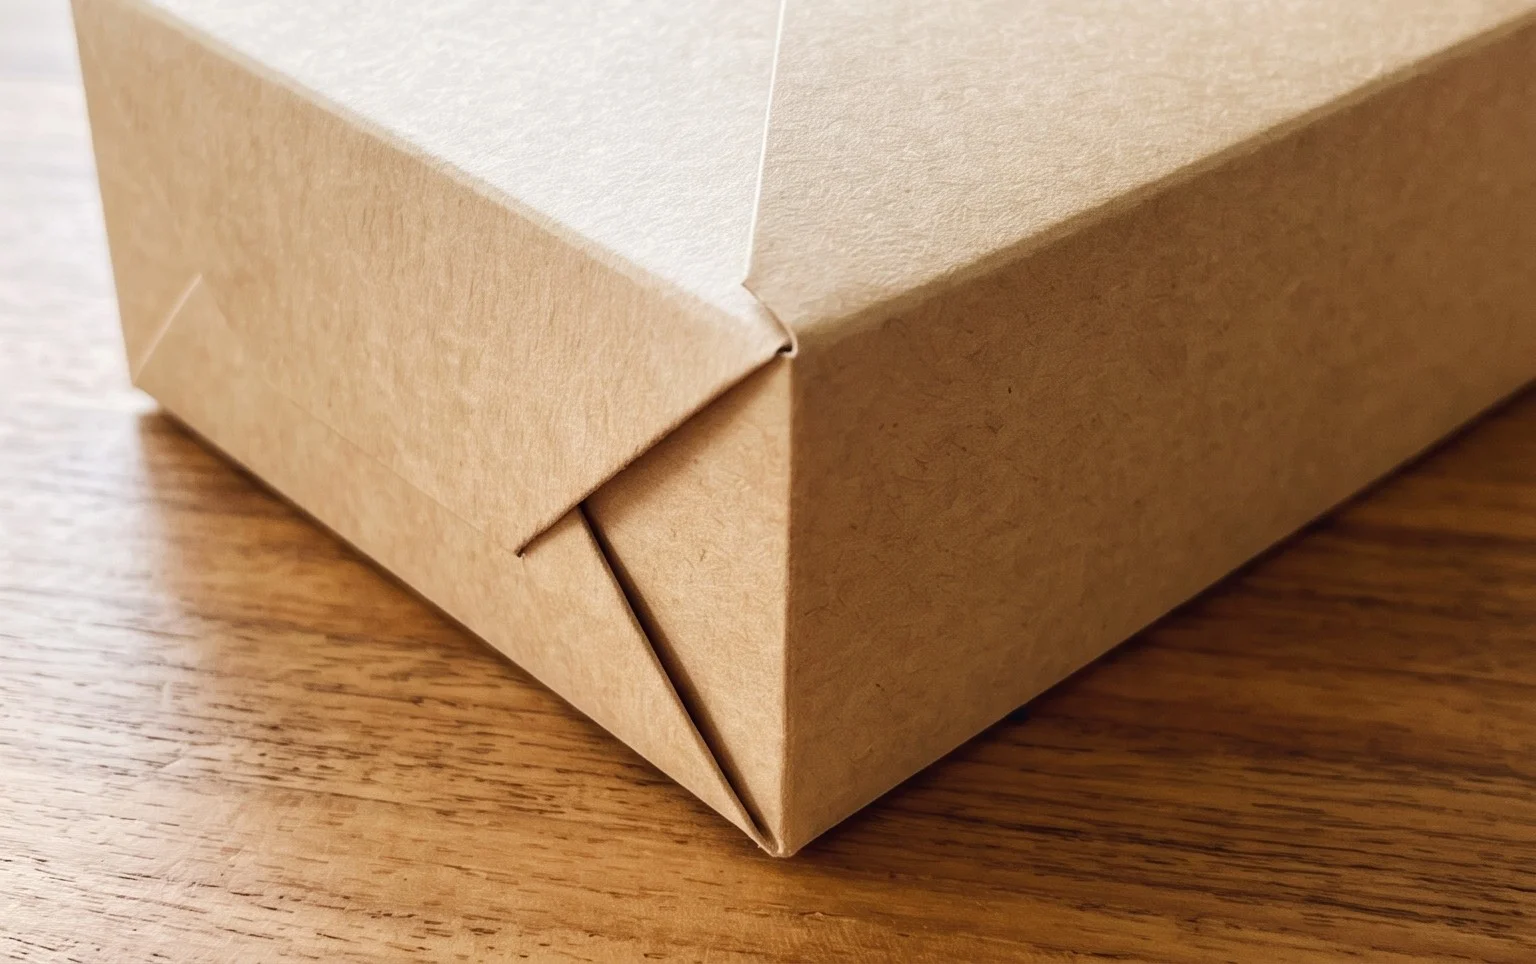
- Tuck in the tabs. You should now see two small “tabs” on the sides of this last flap. Gently tuck these tabs *under* the edges of the side panels you just folded up. This will secure the final wall of your box. Crease the top edge of this wall firmly.
- Admire your box! You’ve done it! You have a beautiful, handmade paper box. Gently shape the sides to make sure they are straight and the box is sturdy.
Common Beginner Mistakes and How to Avoid Them
It’s completely normal for things not to be perfect the first time! Here are a couple of common places beginners can get tripped up, and how to make sure your folds are clean and precise.
- Uneven Folds: This is probably the most frequent issue. If your edges or corners aren’t perfectly aligned when you’re folding, your final box might look a little wonky or not close properly.
- To Avoid: Take your time! Before you crease, double-check that the edges and corners are lined up exactly. Imagine you’re pressing them together with invisible tape. Then, crease firmly and evenly.
- Not Creasing Firmly Enough: Origami models, especially boxes, rely on crisp creases to hold their shape. If your creases are too soft, the paper can unfold or the walls of your box might be floppy.
- To Avoid: Use the power of your thumbnail or a bone folder. Really press down along the entire line of the fold. You want to leave a clear impression on the paper. If a crease doesn’t feel sharp, go over it again.
- Confusing “Up” and “Down” or Which Side is Facing You: Especially in the middle steps, it’s easy to get turned around with which side of the paper is facing up or down.
- To Avoid: Refer back to the instructions often, especially when it mentions which side should be facing you or up. If you get confused, it’s often easier to unfold a step or two and re-orient yourself rather than trying to force the fold.
Varying Your Box: Unleash Your Creativity!
The beauty of this origami box is how easy it is to customize!
- Size: The most straightforward way to change the size is simply to start with a different sized square of paper. If you use a 12-inch square, you’ll get a larger box. If you use a 4-inch square, you’ll get a smaller one. Just remember, the proportions will stay the same.
- Paper Pattern and Colour: This is where you can really have fun!
- Use patterned scrapbook paper for a more decorative box.
- Try different coloured cardstocks to match an event or theme.
- Use metallic or glitter paper for a special occasion.
- Consider using thicker paper for a more robust box, but remember it might be harder to crease.
- Double-Sided Paper: As mentioned earlier, using double-sided paper creates a beautiful effect where the inside and outside of your box have different (or complementary) colours and patterns.
Displaying or Gifting Your Finished Model
Your finished origami box is more than just a folded piece of paper – it’s a little work of art!
- Gifting: This is where these boxes truly shine!
- Fill them with homemade treats like cookies or candies.
- Place small handmade jewellery inside.
- Use them for party favours for weddings, birthdays, or baby showers.
- Package small craft supplies or buttons for a fellow crafter.
- Add a handwritten note or a small drawing inside.
- Display: Even if you’re not gifting, these boxes are lovely decorative pieces.
- Use them on your desk to hold paperclips, erasers, or other small office supplies.
- Place them on a shelf to hold small trinkets or collected treasures.
- Create a set of boxes in graduating sizes for a charming display.
- Use them as part of a larger decorative arrangement on a mantelpiece or side table.
I hope you’ve enjoyed folding this origami box with me! It’s such a rewarding project, and with a little practice, you’ll be whipping these out in no time. Happy crafting!
Conclusion
Congratulations on folding your very own paper box! We hope you enjoyed this creative journey. Don’t be discouraged if your first attempt isn’t perfect; every fold is a learning opportunity, and practice makes progress. Once you’ve mastered this simple design, why not share your beautiful creation with a friend or family member? For your next adventure, try folding a lidded box for an extra touch of elegance, or experiment with different paper patterns to make your box truly unique. There are so many exciting paper projects waiting for you to explore. What will you make today?