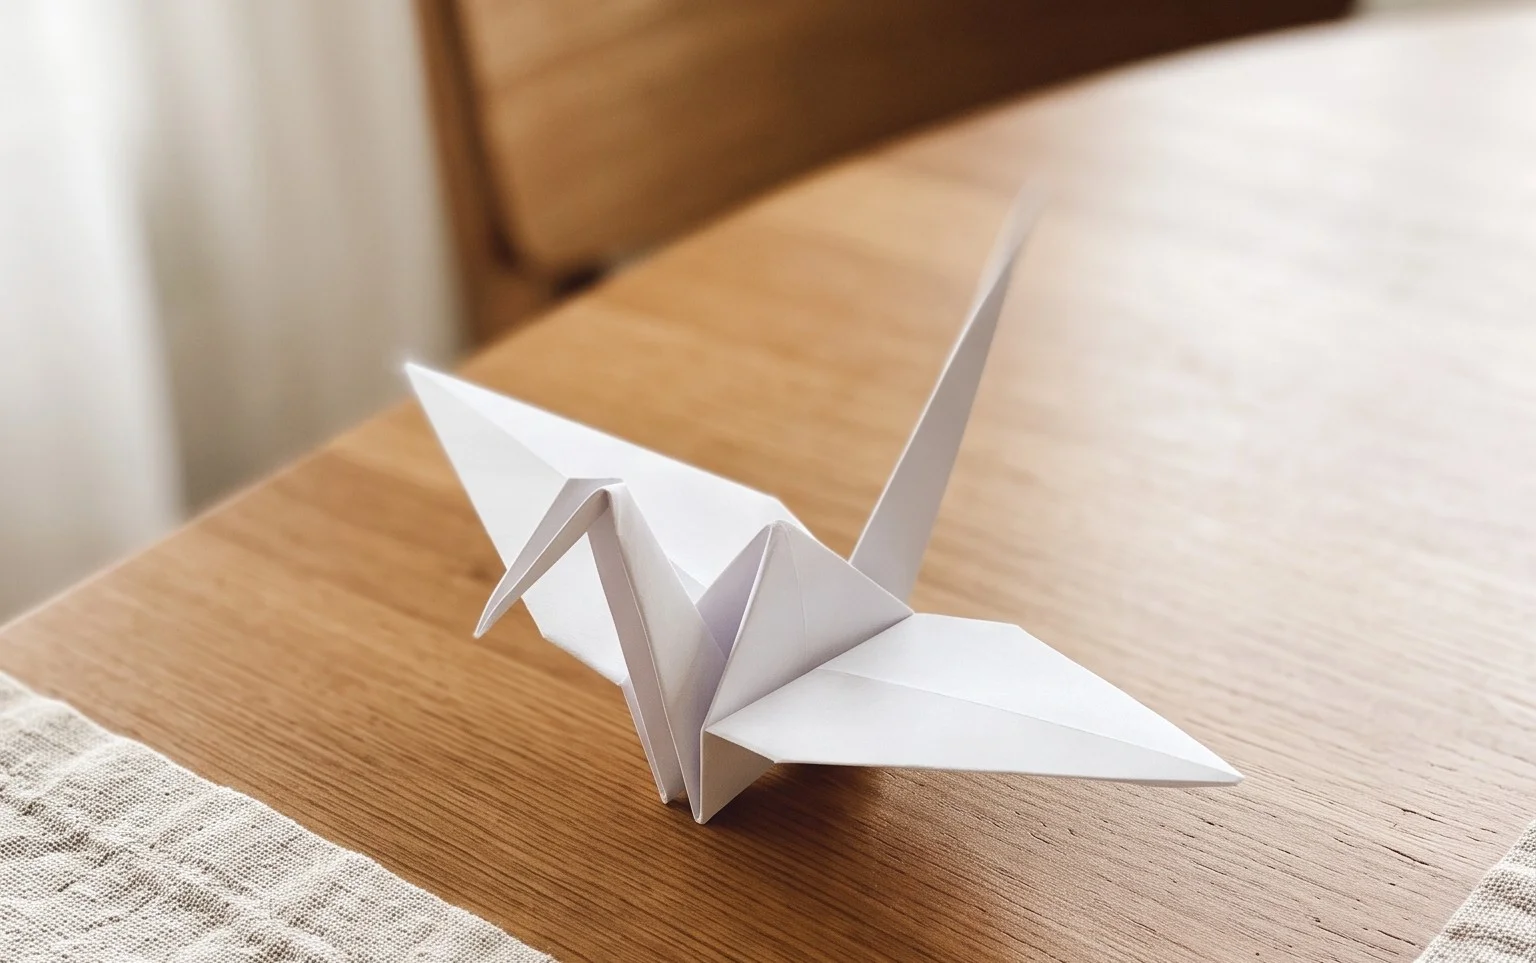
Feathered Tsuru CP is an absolutely stunning variation on the classic origami crane, and I’m so excited to guide you through folding it today! Imagine a graceful crane, its wings unfurled with delicately layered, almost feathered edges, bringing a unique elegance to this familiar form. This project is perfect for anyone, from curious kids to those looking for a special handmade gift, or even for adding a touch of beautiful paper art to your home decor. It’s a rewarding project that takes roughly 20-30 minutes. You’ll learn how to transform a single square of paper into this intricate beauty, mastering precise folds and a touch of creative shaping. Let’s get folding and bring this feathered friend to life together!
Crafting the Feathered Tsuru: An Origami Tutorial
Hello fellow paper enthusiasts! Today, we’re going to embark on a delightful origami journey to create the Feathered Tsuru, a beautiful variation of the classic crane. This model adds a touch of elegance with its subtly fanned tail feathers, making it a truly special piece. Don’t worry if you’re new to origami; I’ll guide you through every step with clear, simple instructions. Let’s get folding!
Choosing Your Paper: The Foundation of Your Feathered Tsuru
The paper you choose is crucial for a successful and beautiful origami project. For the Feathered Tsuru, I recommend using standard origami paper.
* **Type:** Traditional origami paper is ideal. It’s thin, strong, and holds creases exceptionally well. It often has a colored side and a white side, which can be used to your advantage for creating visual interest. You can also experiment with Kami paper, which is similar. For a more luxurious feel, consider Washi paper, though it can be a bit thicker and pricier.
* **Weight:** Standard origami paper is usually around 70-80 gsm (grams per square meter). This weight is perfect for this model – it’s sturdy enough to hold its shape but thin enough to allow for clean folds, especially when you get to the more complex parts of the Tsuru. Avoid paper that’s too thick, as it will make folding difficult and the model won’t look as refined.
* **Size:** For beginners, I suggest starting with a square sheet of paper that’s at least 15cm x 15cm (6 inches x 6 inches). This size provides enough surface area to make your folds accurately without feeling cramped. As you gain confidence, you can experiment with smaller sizes for intricate details or larger sizes for statement pieces.
* **Single or Double-Sided:** For the Feathered Tsuru, you can use either single-sided or double-sided paper. If you use single-sided paper, the white side will be on the inside of the model, and the colored side will be visible on the outside. This is a classic look. If you want a more uniform color, use double-sided origami paper. You can also get creative with patterned paper, just ensure the pattern isn’t too busy, as it might obscure the delicate details of the Feathered Tsuru.
The Base Folds: Building Blocks for Success
Before we dive into the Feathered Tsuru itself, we need to master a couple of fundamental origami folds. These are the building blocks of many origami models, including our crane.
* **The Square Base (also known as the Preliminary Fold):** This is the very first base we’ll create.
1. Start with your square paper, colored side up (if it has one).
2. Fold the paper in half diagonally, bringing one corner to meet the opposite corner. Crease firmly. Unfold.
3. Fold the paper in half along the other diagonal, bringing the remaining two corners together. Crease firmly. Unfold. You should now have an ‘X’ shaped crease on your paper.
4. Flip the paper over so the white side is facing up.
5. Fold the paper in half horizontally, bringing the bottom edge to meet the top edge. Crease firmly. Unfold.
6. Fold the paper in half vertically, bringing the left edge to meet the right edge. Crease firmly. Unfold. You should now have a ‘+’ shaped crease on your paper.
7. Now, bring the two side points (where the horizontal crease meets the edges) inwards, towards the center. As you do this, the top point will naturally come down. Your goal is to collapse the paper into a smaller square. The four flaps should nestle together. This is your square base. Make sure all your creases are sharp and the corners are aligned as perfectly as possible.
* **The Bird Base:** This is the essential base for almost all crane-type models.
1. Start with your square base, ensuring the open end (the end with the four flaps) is facing *downwards* towards you.
2. Take the top layer of the right flap. Fold its bottom edge inwards to meet the center crease. Crease firmly.
3. Repeat with the top layer of the left flap, folding its bottom edge inwards to meet the center crease. Crease firmly.
4. Now, take the top triangular flap that you’ve just created by folding the sides in. Fold this entire triangle downwards, aligning its point with the bottom point of the square. Crease firmly.
5. Unfold the last three folds you just made (the two side flaps and the top triangle). You should see crease lines on the top layer.
6. Now, we’re going to do a “petal fold.” Lift the bottom point of the *top layer only* upwards, using the creases you just made as guides. As you lift, the sides will naturally fold inwards along those creases. Flatten the paper, creating a diamond shape on top. The bottom point of this diamond should be sharp.
7. Flip the entire model over.
8. Repeat steps 2-6 on this side: fold the bottom edge of the right flap inwards to the center crease, fold the bottom edge of the left flap inwards to the center crease, fold the top triangle down, unfold these three, and then perform the petal fold by lifting the bottom point of the top layer upwards and collapsing the sides inwards.
9. You now have your bird base! It will have two “legs” at the bottom and two flaps on top.
The Feathered Tsuru Fold Sequence: Step-by-Step
Now that we have our bird base, let’s transform it into the elegant Feathered Tsuru!
1. Start with your bird base, with the two “legs” pointing downwards. The smooth, unbroken side should be facing upwards.
2. Take the top layer of the right flap. Fold its left edge inwards so that it meets the center vertical crease. Crease firmly.
3. Repeat with the top layer of the left flap, folding its right edge inwards to meet the center vertical crease. Crease firmly. You should now have a narrower diamond shape on top.
4. Flip the entire model over and repeat steps 2 and 3 on this side.
5. Now, we’re going to fold the entire model in half lengthwise, bringing the right side over to meet the left side. The folds you just made should be on the outside. Crease very firmly. This is often called a “closed” position.
6. Hold the model so the two “legs” are still pointing downwards. Take one of the legs (this will become the head or tail). Fold it upwards and outwards, at an angle. The angle you choose will determine how far the head/tail sticks out. A good starting point is to have the leg extend at roughly a 45-degree angle from the body. Crease firmly at the point where you bend it. This is an “inside reverse fold.” To do this properly, open the model slightly where you want to make the fold, push the leg inwards between the layers, and then flatten the fold.
7. Repeat step 6 with the other leg, folding it upwards and outwards at a similar angle. These will be the neck and tail.
8. Now, let’s shape the head. On one of the upward-pointing legs (choose which one you want to be the head), perform another inside reverse fold, but this time, make a small fold near the tip. This small fold will create the beak. Again, open the leg slightly, push the tip inwards and downwards between the layers, and then flatten. This is a smaller inside reverse fold.
9. This is where we create the “feathers”! Look at the body of the crane. You’ll see two layers on each side of the tail. We’re going to gently pull these layers outwards and slightly fan them. Take the topmost layer of the tail and pull it outwards and slightly upwards, creating a fan shape. Don’t pull too hard, you just want to create a gentle fanning effect.
10. Repeat step 9 with the other layer on the same side of the tail. You’re aiming for a subtle fanned look, not a dramatic explosion of paper.
11. Repeat steps 9 and 10 on the other side of the tail. You should now have a beautifully fanned tail.
12. Gently puff out the body of the crane by blowing into the small hole on the underside. This gives the model a bit of volume and dimension.
Common Pitfalls and How to Avoid Them
Even with clear instructions, we all make mistakes when learning something new. Here are a couple of places beginners often struggle with the Tsuru and how to overcome them:
* **Imperfect Base Folds:** If your initial square base or bird base isn’t precise, every subsequent fold will be a little off.
* **How to Avoid:** Take your time with the square and bird base. Align corners and edges as perfectly as you can. Make your creases sharp and firm. Don’t rush through these foundational steps; a strong base makes the rest of the model much easier and neater. A ruler or a bone folder can help you achieve really crisp creases if your fingernails aren’t quite cutting it.
* **Inside Reverse Folds for Head and Tail:** This can be tricky because you’re folding against the natural direction of the paper and the layers.
* **How to Avoid:** Before you make the inside reverse fold, make a clear crease first. For the neck/tail, fold the leg up and outwards at your desired angle, crease firmly, and then unfold. This “pre-crease” shows you exactly where the fold needs to happen. Then, gently open the layers of the leg where you made the crease, and push the leg inwards between those layers, using the crease as your guide. For the head/beak, the same principle applies – make a small crease first for the beak, then reverse fold it. Patience is key here!
Adding Your Personal Touch: Variations
One of the joys of origami is the ability to personalize your creations. The Feathered Tsuru is wonderfully versatile!
* **Size:** As mentioned, start with a larger size. Once you’re comfortable, try smaller paper sizes like 7.5cm x 7.5cm (3 inches x 3 inches) for miniature cranes, perfect for decorating cards or scattering as confetti. Larger sheets, like 30cm x 30cm (12 inches x 12 inches), make for impressive wall art or decorative pieces.
* **Paper Pattern:** Experiment with patterned origami paper. Geometric patterns, floral prints, or even textured papers can give your Feathered Tsuru a unique personality. Just be mindful that very busy patterns might detract from the subtle elegance of the fanned tail.
* **Color:** The color choice is entirely yours! Use a single color for a classic look, or try dual-colored paper where one side is a different color than the other. This can create interesting color pops where the layers are visible. You could even try ombré paper for a gradient effect.
Displaying and Gifting Your Feathered Tsuru
Your beautiful Feathered Tsuru deserves to be admired!
* **Display:**
* **On a Shelf:** A single, well-crafted Feathered Tsuru perched on a bookshelf or windowsill is a simple yet elegant decoration.
* **Mobile:** String several Feathered Tsuru together with thin fishing line or thread to create a stunning mobile. Varying sizes and colors can make it even more dynamic.
* **Garland:** Connect them in a line to create a festive garland for special occasions.
* **Table Centerpiece:** Arrange a cluster of Feathered Tsuru in a shallow bowl or on a decorative plate for a unique centerpiece.
* **Gifting:**
* **Good Luck Charm:** In many cultures, cranes symbolize longevity and good fortune. A Feathered Tsuru is a thoughtful gift for someone going through a difficult time, embarking on a new venture, or celebrating a birthday or anniversary.
* **Wedding Favor:** Mini Feathered Tsuru can make exquisite and memorable wedding favors for your guests.
* **Handmade Card Embellishment:** Glue a small Feathered Tsuru onto a handmade card for an extra special touch.
* **Part of a Larger Gift:** Tuck a Feathered Tsuru into a gift box with another present as a charming accompaniment.
I hope you’ve enjoyed learning how to fold the Feathered Tsuru! It’s a rewarding model that combines the familiar grace of the crane with a beautiful, subtle detail. Remember to be patient with yourself, practice your folds, and most importantly, have fun with the process. Happy folding!
Conclusion
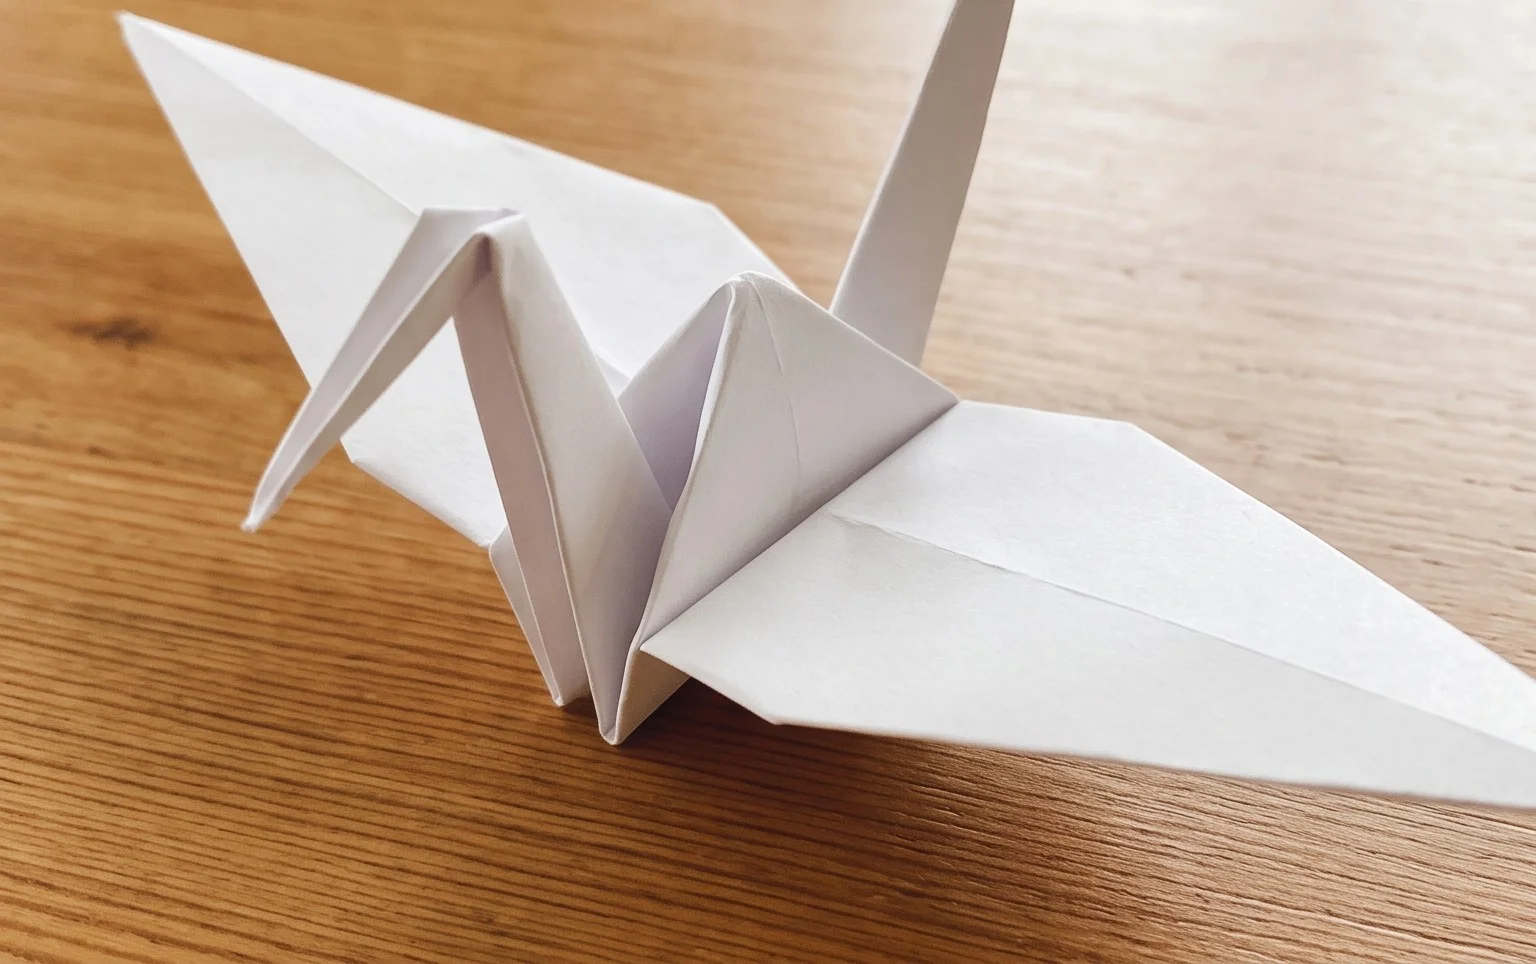
Congratulations on folding your very own Feathered Tsuru CP! We hope you found this origami tutorial enjoyable. Don’t worry if your first attempt isn’t perfect; every origami artist started somewhere, and practice is key to mastering this beautiful crane. We’d love to see your finished models, so feel free to share them with fellow enthusiasts! For your next challenge, consider trying a smaller scale for a delicate touch, or perhaps experiment with patterned paper for a truly unique look. There are so many wonderful paper projects waiting to be discovered. Happy folding!