100+ Easy Origami Animals is your gateway to a world of paper creatures! Imagine a delightful menagerie unfolding from simple folds: a proud crane with outstretched wings, a playful dog with perky ears, or even a majestic elephant with its trunk raised. This collection is absolutely perfect for complete beginners and kids alike, making it a fantastic way to spend an afternoon – most models can be completed in under 15 minutes! You’ll learn fundamental origami techniques that will build your confidence with every fold, discovering how to transform a flat sheet of paper into charming, three-dimensional animals ready to adorn your desk, surprise a friend with a handmade gift, or simply bring a smile to your face. Let’s get folding!
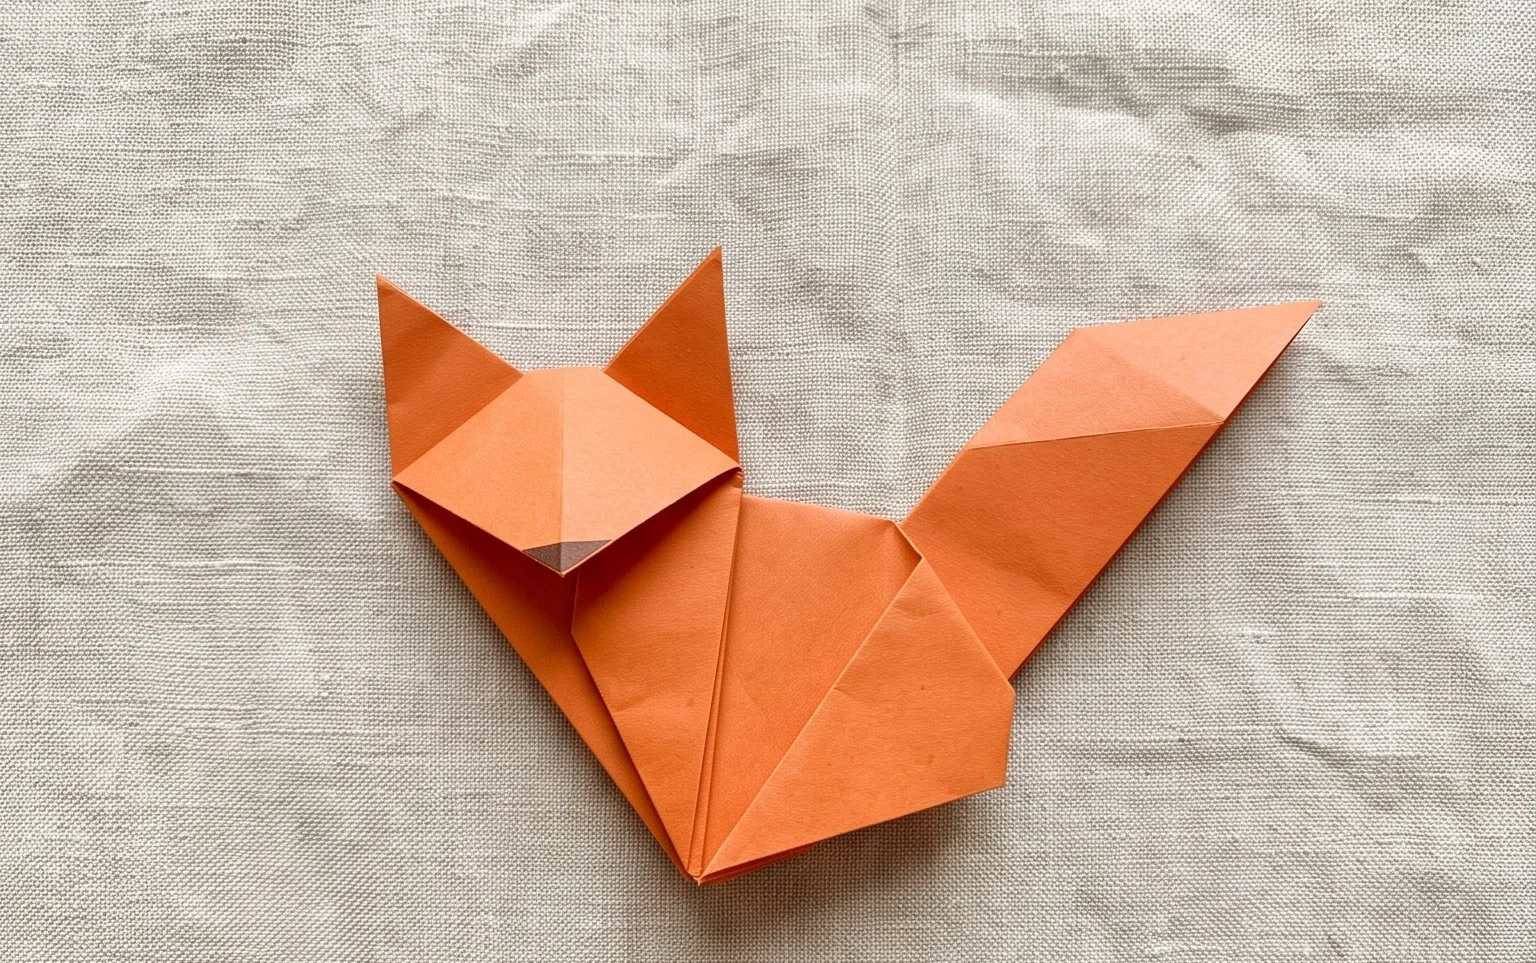
Let’s dive into the wonderful world of origami animals! I’m so excited to share with you how to create over 100 easy origami animals. It might sound like a lot, but we’ll take it one step at a time, and you’ll be amazed at what you can create with just a piece of paper.
Choosing Your Paper: The Foundation of Your Origami Zoo
The paper you choose is more important than you might think. It’s the foundation for all your creations. For beginners, I highly recommend starting with standard origami paper.
Type and Weight
Origami paper is specifically designed to hold creases well and is typically thin enough for multiple folds without becoming too bulky. It usually comes in squares. The weight is often measured in grams per square meter (gsm). For easy models, a weight between 60gsm and 80gsm is perfect. It’s sturdy enough to handle the folding but flexible enough for intricate details. Avoid using thicker paper like cardstock, as it will be difficult to fold cleanly and can damage your models.
Size Matters
Origami paper comes in various sizes, with 15cm x 15cm (about 6 inches x 6 inches) being the most common and ideal for beginners. This size is manageable and allows you to practice the folds without feeling overwhelmed by too much paper. As you get more comfortable, you can experiment with larger or smaller sizes.
Single or Double Sided?
Origami paper is often double-sided, meaning it has a different color on each side. This is fantastic for adding depth and interest to your models. For example, you could fold a crane with a white inside and a red outside, giving it a lovely contrasting effect. However, you can also use single-sided paper or even just plain printer paper cut into squares. If you use plain printer paper, it will be monochromatic, but it’s a great way to practice the folding techniques without investing in specialized paper. For many of these easy animal models, the double-sided paper really makes them pop!
Mastering the Base Folds: Your Origami Toolkit
Before we jump into specific animals, let’s get acquainted with some fundamental folds that form the building blocks of almost every origami model. Practicing these will make the subsequent steps much easier.
The Valley Fold
This is the most basic fold. Imagine you’re creating a valley in the paper. You bring one edge to meet another edge, or a point to another point. Crease the paper firmly along the line where the two edges meet. The crease will then look like a valley when viewed from above.
The Mountain Fold
This is the opposite of a valley fold. Imagine creating a mountain peak. Instead of bringing two edges together, you’ll fold the paper away from you, creating a crease that points upwards. Often, you’ll make a valley fold first and then invert it to create a mountain fold.
The Square Base (or Preliminary Base)
This is a common starting point for many origami animals.
1. Start with your square piece of paper, colored side up if using double-sided paper.
2. Fold the paper in half diagonally to form a triangle. Make sure to align the opposite corners precisely and crease firmly.
3. Unfold the paper.
4. Now, fold it in half diagonally the other way, aligning the other two opposite corners. Crease firmly.
5. Unfold the paper. You should now have an “X” crease on your paper.
6. Flip the paper over so the white side is facing up.
7. Fold the paper in half horizontally (edge to edge). Crease firmly.
8. Unfold the paper.
9. Fold the paper in half vertically (edge to edge). Crease firmly.
10. Unfold the paper. You should now have a “+” crease on this side.
11. Now, bring your hands to the left and right edges of the paper. Gently push these edges inwards towards the center, while simultaneously bringing the top point down to meet the bottom point. The paper should naturally collapse into a smaller square. This is your square base. Ensure all the edges are aligned and press down to make the creases sharp.
The Kite Base
This base is also quite common, especially for simpler animals.
1. Start with your square paper, colored side up.
2. Fold the paper in half diagonally to make a triangle. Crease firmly and unfold. You’ll have a diagonal crease.
3. Take the bottom left edge and bring it to meet the center diagonal crease. Crease firmly.
4. Take the bottom right edge and bring it to meet the center diagonal crease. Crease firmly.
Your paper should now look like a kite.
Your First Origami Animals: A Step-by-Step Journey
Let’s start with a classic: the Origami Dog. This is a fantastic model for beginners.
Origami Dog Face
1. Start with a square piece of paper, colored side up.
2. Fold the paper in half diagonally to form a triangle. Crease firmly.
3. Position the triangle so the longest edge is at the bottom and the point is facing upwards.
4. Take the left corner of the triangle and fold it down to create an ear. The fold line should start from about an inch or so below the top point and angle outwards. Don’t worry about perfect symmetry here; a slightly irregular ear can be quite charming.
5. Repeat step 4 on the right side, folding the right corner down to create the other ear. Try to make it as symmetrical as possible with the first ear.
6. Now, take the bottom point of the triangle (the one that was originally the top point before you flipped it). Fold this point upwards slightly to create the dog’s snout. The amount you fold up will determine how prominent the snout is.
7. Flip the entire model over. You’ve just made a dog face! You can use a pen to draw eyes and a nose to bring your dog to life.
Origami Cat Face
1. Start with a square piece of paper, colored side up.
2. Fold the paper in half diagonally to form a triangle. Crease firmly.
3. Position the triangle so the longest edge is at the bottom and the point is facing upwards.
4. Take the left point of the triangle and fold it downwards and slightly outwards to create an ear. Aim for the fold to start about halfway down the slanted edge of the triangle.
5. Repeat step 4 on the right side, folding the right point down to create the other ear. Again, try for symmetry.
6. Take the bottom point of the triangle and fold it upwards, but this time, make a smaller fold than you did for the dog’s snout. This will be the cat’s chin.
7. Flip the model over. You have a cat face! Add some eyes and whiskers with a pen.
Common Pitfalls and How to Avoid Them
Even with easy models, beginners often encounter a few common issues. Don’t get discouraged; these are learning opportunities!
1. Sloppy Creases
This is probably the most frequent mistake. If your creases aren’t sharp and precise, your model will be wobbly and difficult to fold accurately in later steps.
* **How to Avoid:** Use your fingernail or a bone folder (if you have one) to really press down on every crease. Make sure edges and corners align perfectly before you make the crease. Take your time with each fold.
2. Misaligned Corners and Edges
When a step says “bring corner A to meet edge B,” it means *exactly* meet. Even a millimeter off can throw off the entire model.
* **How to Avoid:** Hold the paper so you have a clear view of the corners and edges you are working with. Don’t rush. If necessary, unfold and refold to get it just right. It’s better to take an extra moment than to have a misshapen final product.
3. Forgetting to Flip the Paper
Some steps require you to flip the paper over to continue folding on the other side. If you miss this instruction, your folds will end up on the wrong side.
* **How to Avoid:** Read each step carefully before you perform it. If it says “flip the paper over,” do it immediately. You can even make a habit of saying “flip” out loud as you do it to reinforce the action.
Varying Your Origami Menagerie
Once you’ve mastered a few basic models, don’t be afraid to experiment!
Size
You can make any origami animal in any size simply by starting with a different sized square piece of paper. Smaller paper will create miniature animals, perfect for decorating cards or making a mobile. Larger paper will result in impressive display pieces. Just remember that as the paper size increases, the precision required for folding also increases.
Paper Patterns and Colors
This is where the fun really begins!
* **Patterns:** Look for papers with subtle patterns, like wood grain, geometric designs, or even animal prints! These can add an extra layer of realism or whimsy to your creations.
* **Colors:** Use different colored paper for different animals. Imagine a flock of bluebirds, a herd of pink elephants, or a forest of green frogs! You can also use the double-sided nature of origami paper to your advantage. For instance, fold a white bird with red accents by using red paper for the wingtips or tail.
* **Handmade Paper:** If you’re feeling adventurous, you can even try using handmade papers, which often have a beautiful texture and unique charm.
Displaying and Gifting Your Creations
Your completed origami animals are more than just folded paper; they’re little works of art!
Display Ideas
* **Desk Companions:** Place your animals on your desk as cheerful companions while you work or study.
* **Mobiles:** String several origami animals together to create a beautiful mobile for a nursery or any room.
* **Dioramas:** Create a miniature habitat for your animals using a shoebox or a small shelf. Add some natural elements like twigs or pebbles.
* **Garlands:** Punch a small hole in the top of your animals and thread them onto a string to make a festive garland for parties or holidays.
* **Home Decor:** Arrange a collection of animals on shelves, windowsills, or mantels for a unique and eye-catching display.
Gifting Ideas
* **Handmade Gifts:** Origami animals make thoughtful and unique gifts for friends and family. They show you’ve put in time and effort.
* **Card Embellishments:** Glue a small origami animal onto a handmade card to make it extra special.
* **Party Favors:** Fold a collection of small animals for guests to take home as party favors.
* **Gift Toppers:** Instead of a traditional bow, tie a beautiful origami animal to the top of a gift.
* **Care Packages:** Brighten someone’s day by including a little origami friend in a care package.
I hope this detailed guide inspires you to start folding. Remember, patience and practice are key. With these easy instructions and a little creativity, you’ll soon have your own amazing collection of origami animals! Happy folding!
Conclusion
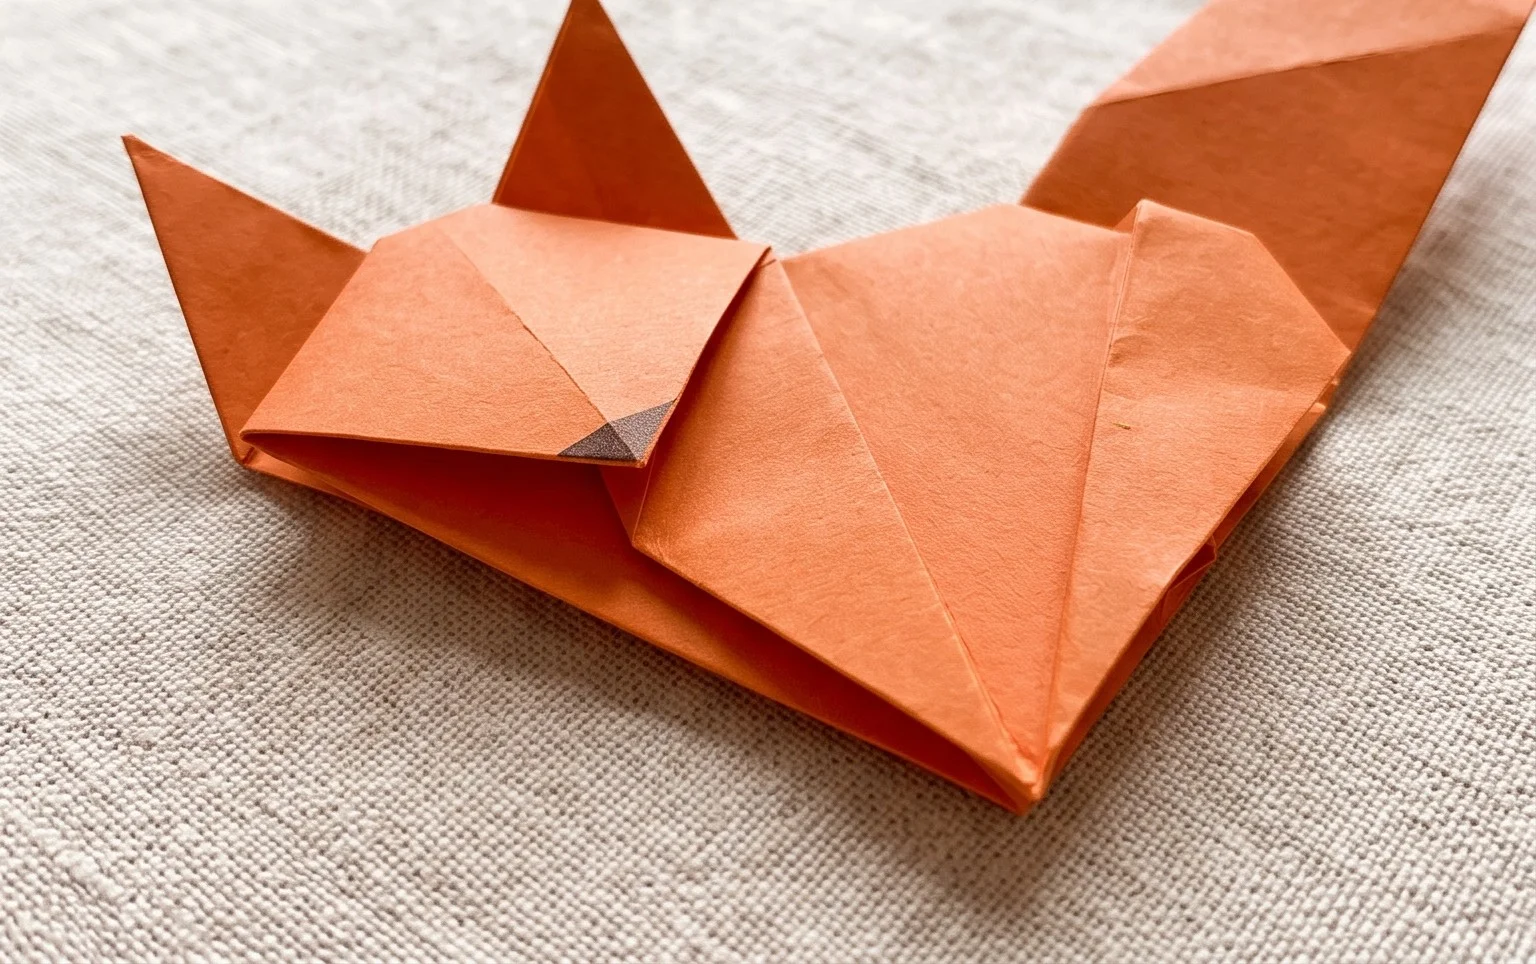
Congratulations on completing your easy origami animal! Remember, every fold is a step on your creative journey. Don’t worry if your first attempt isn’t perfect; that’s what practice is for. The joy is in the process and the wonderful creation you’ve brought to life. We encourage you to share your finished model with friends and family – they’ll be amazed!
What’s next?
For your next adventure, try folding an origami dog or perhaps a graceful origami swan. The world of paper folding is vast and exciting. We invite you to explore more paper projects and discover endless possibilities for creativity and fun!