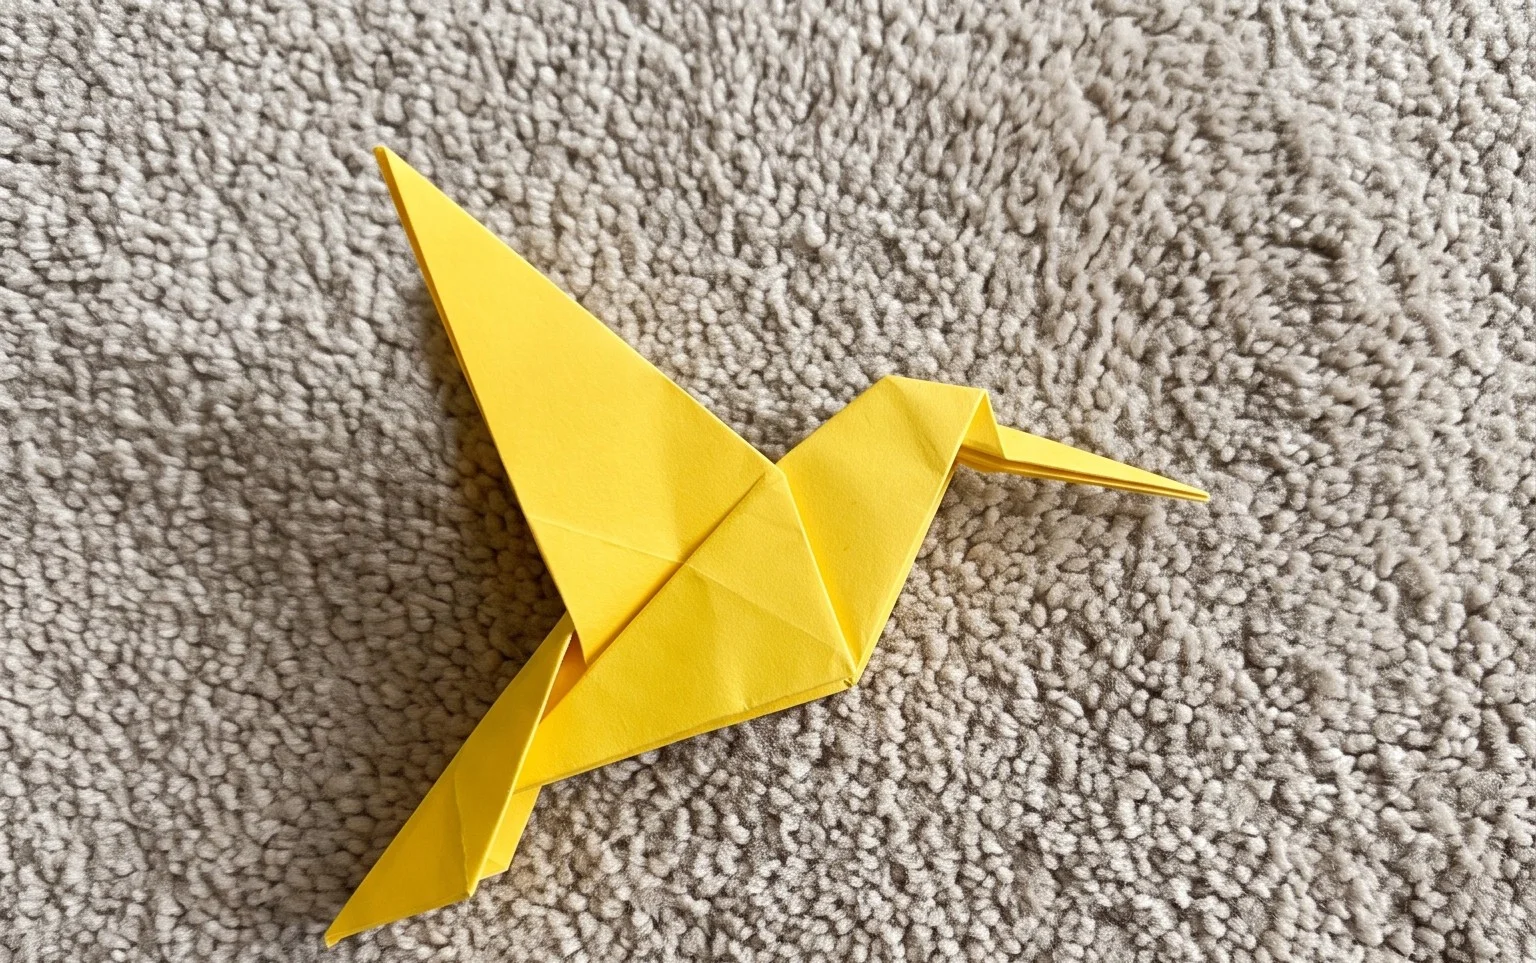
Origami Hummingbird: Step-by-Step Instructions are here to guide you in folding one of nature’s most enchanting creatures! Imagine a delicate, vibrant hummingbird, wings poised for flight, its tiny beak ready to sip nectar. This charming model is perfect for complete beginners, crafty kids, or anyone looking for a sweet, handmade gift or a unique decoration. You’ll be amazed at how quickly this beautiful bird takes shape – likely within 15-20 minutes. In this tutorial, we’ll learn basic folding techniques, including mountain and valley folds, and how to create sharp creases that bring your hummingbird to life. Get ready to transform a simple square of paper into a miniature marvel. Let’s start folding!
Origami Hummingbird: Step-by-Step Instructions
Hello there! I’m so excited to guide you through the delicate art of folding an origami hummingbird. This is a truly charming model, and while it has a few intricate steps, with a little patience and careful folding, you’ll have a beautiful little bird to admire. We’ll go through everything, from choosing the perfect paper to troubleshooting those tricky bits that often trip beginners up. So, let’s get started on creating your own hovering masterpiece!
Choosing Your Paper
The type of paper you use can really make a difference in the final look and feel of your origami hummingbird. For this model, I highly recommend using standard origami paper.
- Type: Origami paper, also known as kami, is ideal. It’s thin, strong, and usually has a coloured side and a white side, which can be useful for our folds.
- Weight: Standard origami paper is typically around 70-80 gsm (grams per square meter). This weight is perfect for holding sharp creases without being too stiff or too flimsy. Avoid cardstock or thick paper, as it will be very difficult to fold the smaller details.
- Size: For your first attempt, I suggest starting with a 6-inch (15cm) square. This size is manageable for beginners, allowing you to practice the folds without the details becoming too fiddly. As you gain confidence, you can experiment with smaller or larger squares.
- Single or Double Sided: For this hummingbird, I usually prefer paper that is coloured on one side and white on the other. This helps us distinguish between the ‘inside’ and ‘outside’ of the folds, especially when we’re creating the body and wings. If you only have double-sided coloured paper, that will work too; it will just mean the white side won’t be visible in the finished model, or you’ll have a colour on the inside of some folds depending on how you start.
The Base Folds: Building Blocks of Your Hummingbird
Before we dive into the specific steps for the hummingbird, let’s make sure we’re comfortable with a few fundamental origami folds. Practicing these will ensure your hummingbird has a clean, sharp finish.
The Valley Fold
This is the most basic fold. You bring one edge or corner of the paper to meet another edge or corner, creating a crease that dips inward, like a valley. Always make sure to run your fingernail or a bone folder along the crease to make it as sharp as possible.
The Mountain Fold
This is the opposite of a valley fold. You create a crease that sticks outward, like a mountain peak. Often, you’ll make a valley fold first and then ‘reverse’ it into a mountain fold.
The Square Base (also known as Preliminary Base)
This is a foundational base for many origami models. To make it:
- Start with your square piece of paper, coloured side down.
- Fold the paper in half diagonally to make a triangle. Crease well and then unfold.
- Fold the paper in half diagonally the other way. Crease well and unfold. You should now have two diagonal creases forming an ‘X’ on your paper.
- Flip the paper over so the coloured side is facing up.
- Fold the paper in half horizontally (top edge to bottom edge). Crease well and unfold.
- Fold the paper in half vertically (left edge to right edge). Crease well and unfold. You should now have a ‘+’ crease pattern on this side.
- Now, gently push the left and right edges towards the centre along the vertical crease. As you do this, the top edge should come down towards the bottom edge. The diagonal creases will help guide the paper. You are essentially collapsing the square into a smaller square with four flaps. The open end should be at the bottom, and the closed point should be at the top. This is your Square Base.
The Bird Base
This base is essential for many bird models, including our hummingbird. You’ll start with the Square Base we just made.
- Take your Square Base and ensure the open end is facing towards you.
- Take the top layer of the right flap and fold its bottom edge to meet the centre vertical crease. Crease firmly.
- Repeat with the top layer of the left flap, folding its bottom edge to meet the centre vertical crease. You will now have a kite shape on the top layer.
- Fold the top triangular flap down over the two flaps you just folded. Crease well.
- Unfold the last three folds you made.
- Now, lift the bottom point of the top layer upwards. As you do this, use the creases you just made to ‘petal fold’ the sides inwards. This means you’ll open up the paper along the horizontal crease and fold the side flaps inwards, bringing the bottom point all the way up to the top point. The result should be a diamond shape with two ‘legs’ at the bottom.
- Flip the entire model over.
- Repeat steps 2-5 on this other side. You should now have a diamond shape with two ‘legs’ at the bottom, and the top point is closed. This is your Bird Base.
Folding Your Origami Hummingbird: The Step-by-Step Journey
With our bases ready, let’s bring our hummingbird to life! We’ll be working with the Bird Base.
- Start with your Bird Base, coloured side up, with the open ‘legs’ pointing towards you.
- Identify the two ‘legs’ at the bottom. These will become the hummingbird’s body and tail. Take the right leg and fold it upwards, aligning its edge with the centre vertical crease. Crease very firmly.
- Repeat with the left leg, folding it upwards and aligning its edge with the centre vertical crease. You now have two long points extending upwards.
- Now, look at the two flaps pointing upwards. These will become the wings. Take the right flap and fold it downwards, making a crease that runs from the top point of the model down towards the bottom. The angle of this fold will determine the angle of the wings. A good starting point is to have the bottom edge of this folded flap roughly parallel to the bottom edge of the entire model. Crease well.
- Flip the model over and repeat step 4 with the left flap, folding it downwards to match the angle of the right wing. You should now have your basic hummingbird shape with two wings folded down.
- Let’s focus on the head and beak. Look at the top point of the model. You’ll see a small triangular flap formed by the folds in step 2 and 3. We need to shape this into the head and beak. Take this top point and fold it downwards. The amount you fold down will create the length of the beak. Aim for about half an inch to an inch, depending on the size of your paper. Crease firmly.
- Now, we’ll refine the beak. Take the tip of the beak you just folded down and make a tiny fold upwards, about 1/4 inch. This creates the pointed end of the beak. Crease this small fold.
- Next, we’ll create the neck and body. The two long points that came up in steps 2 and 3 are now the tail. We need to fold these upwards to create the body. Take the right point (the tail) and fold it upwards at an angle. You want it to extend upwards and slightly outwards from the body. The exact angle will define the posture of your hummingbird. Crease well.
- Repeat step 8 with the left point (the tail), folding it upwards to mirror the right side. You should now have two tail feathers extending upwards.
- Now, we need to shape the body and tuck away some excess paper. Look at the underside of your hummingbird. You’ll see the two long points we folded up for the tail. We’re going to fold these back down along the centre line of the body. Take the right tail feather and fold it downwards along the centre crease, so it lies flat against the body.
- Repeat step 10 with the left tail feather, folding it downwards along the centre crease. This will give the hummingbird a more streamlined body.
- Gently pull the wings outwards. You can adjust the angle of the wings by slightly bending them where they attach to the body.
- Finally, you can shape the head and beak. Gently curl the beak downwards if you wish, and slightly adjust the angle of the head. You can also gently curve the tail feathers outwards for a more dynamic look.
Common Pitfalls and How to Avoid Them
Even with clear instructions, origami can be tricky! Here are a couple of places beginners often get stuck, and how to navigate them:
- Uneven Creases: This is probably the most common issue. If your creases aren’t sharp, your model will look loose and floppy.
- How to Avoid: Take your time with each fold. After you bring two edges or corners together, firmly run your fingernail or a bone folder along the entire length of the crease. Don’t rush this step! Also, ensure your paper is perfectly aligned before you crease.
- Getting Lost in the Bird Base Petal Fold: Step 5 of making the Bird Base, the petal fold, can be confusing. You’re essentially reversing the folds you just made to create a long, thin diamond.
- How to Avoid: Make sure your initial creases are clear and accurate. When you lift the bottom point upwards, use those creases as guides. Think of it like opening a book, but folding the pages inwards instead of outwards. If it feels stuck, unfold slightly and re-align the paper along the existing creases. Sometimes, gently pushing the sides in while lifting the bottom point helps.
- Forgetting to Flip: In the Bird Base, it’s crucial to complete the folds on both sides. If you forget to flip and repeat, you won’t have a symmetrical base, and your hummingbird will be lopsided.
- How to Avoid: As you work through the Bird Base instructions, consciously say to yourself, “Flip the paper over” after completing one side. Tick it off on your mental checklist or even a physical one if you’re really struggling.
Varying Your Hummingbird
Once you’ve mastered the basic fold, the fun really begins with customization!
- Size: As mentioned, starting with 6-inch squares is great. For smaller, more intricate hummingbirds, try 3-inch or 4-inch squares. For larger, more dramatic ones, use 8-inch or even 10-inch squares. Keep in mind that very small squares will require more precision and dexterity.
- Paper Pattern: This is where you can get really creative!
- Patterned origami paper: Look for papers with floral designs, watercolour effects, or subtle gradients. These can add incredible depth and realism to your hummingbird.
- Washi tape: You can fold a plain piece of paper and then carefully apply washi tape to the wings or body for a decorative effect.
- Magazine pages: For a unique, upcycled look, try using interesting images or patterns from old magazines. Just ensure the paper is not too thick.
- Colour: The beauty of origami is the endless colour possibilities!
- Mimic real hummingbirds: Research different hummingbird species and try to replicate their vibrant colours. Think iridescent greens, blues, purples, and reds.
- Monochromatic: Use different shades of the same colour for a sophisticated look.
- Contrast: Use a bright colour for the body and a contrasting colour for the wings or tail.
Displaying or Gifting Your Hummingbird
Your finished origami hummingbird is a work of art, and it deserves a special place!
- Display:
- Mobile: String several hummingbirds together to create a beautiful mobile for a nursery or a sunlit window.
- On a shelf: Stand your hummingbird up on a shelf or windowsill. The delicate pose of the wings and tail can make it look like it’s about to take flight.
- In a shadow box: Place your hummingbird in a shadow box with some dried flowers or other small decorative elements for a stunning display.
- As a table decoration: For a special occasion, a few of these little birds can add a whimsical touch to a table setting.
- Gifting:
- With a card: Attach your origami hummingbird to a handmade card. It’s a thoughtful and unique embellishment.
- In a gift box: Place it inside a small gift box for a surprise.
- As a bookmark: The slightly pointed shape of the tail can sometimes make it work as a delicate bookmark.
- Part of a larger gift: If you’re giving a gift related to nature, birds, or crafting, an origami hummingbird makes a perfect accompaniment.
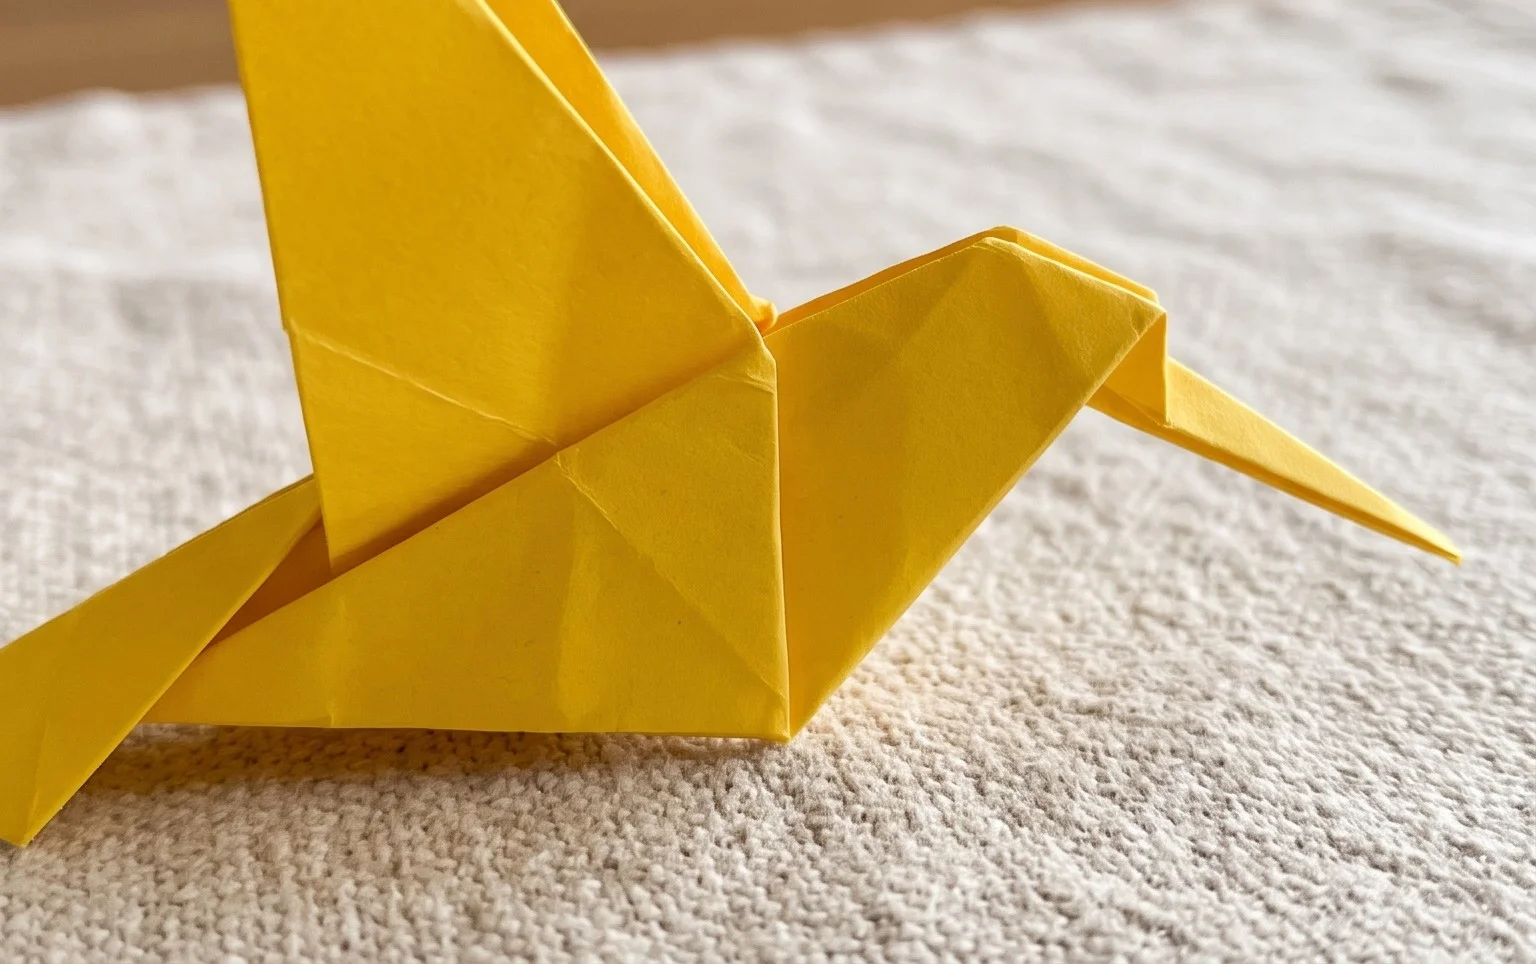
I hope you’ve enjoyed this journey into folding an origami hummingbird! Remember, practice makes perfect, so don’t be discouraged if your first attempt isn’t flawless. Each fold you make brings you closer to mastering this beautiful art form. Happy folding!
Conclusion
Congratulations on folding your very own origami hummingbird! Don’t worry if your first attempt isn’t perfect; every fold is a step towards mastery, and practice is key to creating beautiful paper art. We hope you enjoyed this tutorial and are proud of your fluttering creation. Why not share your vibrant origami hummingbird with friends and family? For your next adventure, try folding a traditional crane or a delicate butterfly! There are countless other paper projects waiting to be discovered, so keep exploring and let your creativity take flight!