Paper roll cat craft is such a delightful and charming project that anyone can enjoy! Imagine a sweet little feline, crafted from a simple paper roll, with perky ears, a tiny nose, and perhaps even whiskers peeking out. This project is perfect for complete beginners, little crafters, and anyone looking for a quick and adorable decoration or a heartfelt handmade gift. In about 30 minutes, you’ll transform a humble paper tube into a whimsical paper pet! We’ll learn how to fold, shape, and decorate our paper rolls to bring our friendly paper cats to life. Get ready to get your hands busy and create something truly special!
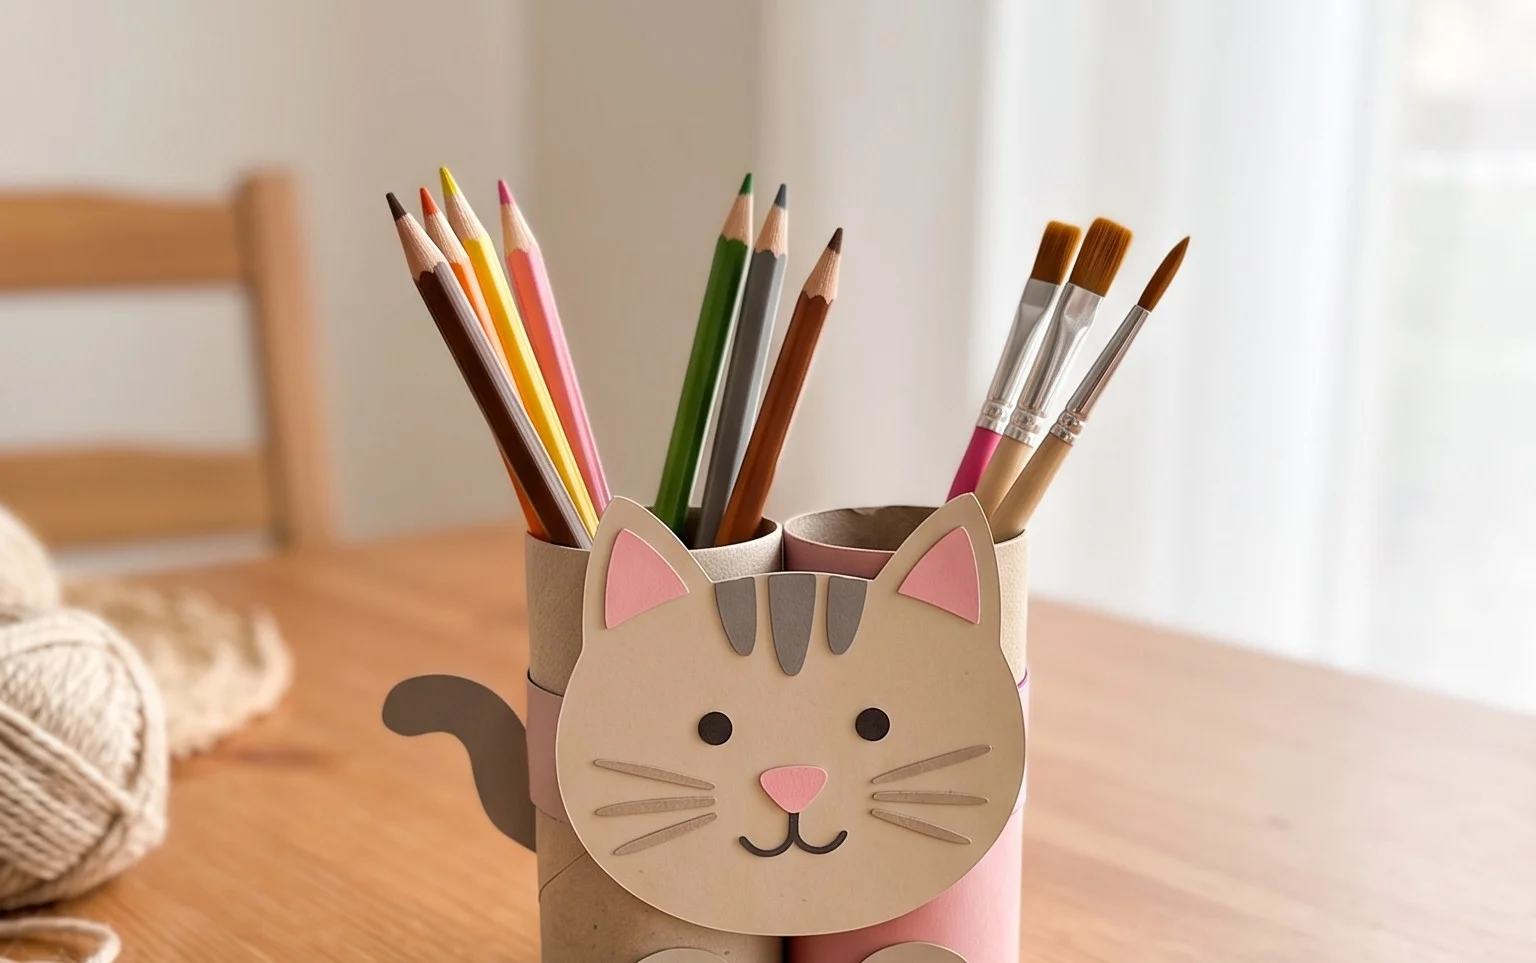
Crafting Adorable Origami Paper Roll Cats
Hello wonderful crafters! Today, we’re embarking on a delightful journey to create a charming Paper Roll Cat using the magic of origami. This project is wonderfully simple, perfect for beginners, and results in a super cute decoration or a thoughtful handmade gift. Don’t worry if you’re new to origami; I’ll guide you through each step with clear, plain language. We’ll focus on making those folds crisp and precise, which is the key to a beautiful finished piece. Let’s get started!
Choosing Your Paper: The Foundation of Your Kitty
The type of paper you choose is crucial for a successful origami project, especially for this Paper Roll Cat. For this particular craft, I recommend using standard origami paper.
- Type: Look for square origami paper. It’s designed for folding and holds creases exceptionally well.
- Weight: Standard origami paper is usually around 70-80 gsm (grams per square meter). This weight is perfect – it’s sturdy enough to hold its shape but thin enough to make crisp folds without becoming bulky. Avoid cardstock or very thin printer paper for this model, as they can be difficult to fold precisely and may crack.
- Size: For your first few cats, I suggest starting with a 6-inch (15 cm) square. This size is manageable for beginners and allows you to practice your folds without being too fiddly. As you get more comfortable, you can experiment with larger or smaller squares.
- Single or Double Sided: For this cat, you have options!
- Single-sided paper: If you use single-sided colored paper (white on one side, color on the other), the inside of your cat will be white. This can create a lovely contrast and highlight the folded form.
- Double-sided paper: Using double-sided paper, where both sides are colored (or patterned), will result in a fully colored or patterned cat. This is my personal favorite for a vibrant look!
Having a good supply of square paper in various colors and patterns will allow you to create a whole litter of unique cats.
Understanding the Base Folds: Building Blocks of Origami
Before we dive into the cat’s sequence, let’s quickly review two fundamental folds used in many origami projects, including ours. Making these cleanly will set you up for success.
- The Valley Fold: Imagine you’re folding a piece of paper in half to create a “V” shape. This is a valley fold. When you make a valley fold, the crease will dip inwards, like a valley.
- The Mountain Fold: This is the opposite of a valley fold. Imagine folding a piece of paper away from you so the crease bulges upwards, like a mountain peak.
How to make folds cleanly: The secret to crisp, clean folds lies in precision and pressure.
- Align carefully: Before you make a crease, take your time to perfectly align the edges or corners that need to meet. Even a tiny misalignment at the beginning can cause problems later on.
- Crease firmly: Once aligned, use your fingernail or a bone folder (if you have one) to run along the edge of the fold. Apply consistent, firm pressure. This creates a sharp, defined crease that will help your origami hold its shape beautifully.
- Unfold and Refold if necessary: Don’t be afraid to unfold and re-crease if a fold isn’t quite right. It’s better to correct it early than to let a messy fold affect the entire model.
The Folding Sequence: Bringing Your Paper Cat to Life
Now, let’s get folding! Remember to work on a flat surface. I’ll assume you’re starting with your square piece of paper, colored side up if it’s single-sided.
- Step 1: Initial Crease. Take the paper and fold it in half horizontally, bringing the bottom edge up to meet the top edge. Align the edges precisely. Crease firmly along the bottom. Unfold the paper. You should now have a horizontal crease in the middle.
- Step 2: First Diagonal Crease. Now, turn your paper so it looks like a diamond, with one corner pointing towards you. Take the bottom corner and bring it up to meet the top corner. Align these corners perfectly. Crease firmly along the edge that forms at the bottom. Unfold the paper. You should now have a diagonal crease going from the bottom left to the top right.
- Step 3: Second Diagonal Crease. With the paper still in a diamond orientation, take the right corner and bring it over to meet the left corner. Align these corners precisely. Crease firmly along the edge that forms at the right. Unfold the paper. You should now have two diagonal creases forming an “X” shape, plus the horizontal crease you made earlier.
- Step 4: Forming the Preliminary Base. This step might sound a bit complex, but it’s the magic that makes many origami figures possible! Keep the paper in the diamond orientation. You should see your horizontal crease and your two diagonal creases. Gently push the left and right sides of the paper inwards, towards the center, along the diagonal creases. As you do this, the top corner will naturally start to come down towards you. The sides will flatten inwards, and you’ll be left with a smaller square, with all four flaps pointing towards you at the bottom. This is called a Preliminary Base. Make sure all the edges are aligned and crease firmly on all four sides of this new square.
- Step 5: Folding the Flaps. Place the Preliminary Base so that the open end (where the four flaps meet) is pointing towards you. Take the top layer of the right flap and fold its bottom edge inwards to meet the vertical center crease. Align the edge with the center crease and crease firmly.
- Step 6: Repeat on the Left. Now, take the top layer of the left flap and fold its bottom edge inwards to meet the vertical center crease. Align the edge with the center crease and crease firmly. You should now have a kite shape on the front of your model.
- Step 7: Folding the Point Up. Take the small triangular point at the top of the kite shape (formed by the previous folds) and fold it downwards, so the tip of the triangle rests on the point where the two folded edges meet at the center. Crease firmly.
- Step 8: Unfolding for the Petal Fold. Unfold the folds you just made in Steps 5, 6, and 7. You’ll see the creases you’ve made.
- Step 9: The Petal Fold. Now, this is a crucial step! Lift the bottom point of the top layer of paper upwards, using the horizontal crease you made in Step 7 as a guide. As you lift, the sides will naturally want to fold inwards along the creases you made in Steps 5 and 6. Encourage these sides to fold inwards and flatten. You are essentially “opening up” the flap and then flattening it down into a diamond shape on top. This is called a Petal Fold. Crease everything firmly.
- Step 10: Repeat on the Back. Turn your model over. You’ll see the back looks like the original Preliminary Base. Repeat Steps 5 through 9 on this side. You will again form a kite shape, fold the top point down, unfold, and then perform a Petal Fold. When you’re done, you should have a diamond shape on both sides, with two points (legs) sticking out at the bottom.
- Step 11: Creating the Head. Now, let’s make the head and ears! Take the bottom point of the entire model (the one where the two legs are joined). Fold this point upwards, so it extends past the top of the diamond shape. The amount you fold up will determine the length of your cat’s head and ears. A good starting point is to fold it up about two-thirds of the way to the top point. Crease firmly.
- Step 12: Forming the Ears. Now, take the two points at the very top of the model (which are the tips of the diamond). Fold these points downwards and outwards, at a slight angle, to create the cat’s ears. The angle and how far down you fold them will influence the shape of the ears. Experiment to find a look you like! Crease firmly.
- Step 13: Shaping the Tail. The two “legs” at the bottom of your model will become the tail. You can leave them as they are for a simple tail, or gently curve them outwards to give a more dynamic tail shape. If you want to make the tail stand up, you can gently bend it upwards.
- Step 14: Final Touches. You can now draw on a face! Use a fine-tip marker or pen to draw eyes, a nose, and whiskers.
Common Beginner Pitfalls and How to Avoid Them
Even with clear instructions, there are a few spots where beginners often run into trouble. Don’t worry if you encounter these; they’re easily fixable!
- Misaligned Folds in the Preliminary Base (Step 4): This is probably the most common issue. If your Preliminary Base isn’t a neat square with all flaps aligned at the bottom, the subsequent folds will be crooked.
- How to avoid: Take extra time in Steps 1, 2, and 3 to ensure your initial creases are perfectly placed and aligned. When performing Step 4, gently guide the sides inwards, ensuring the edges of the paper meet the center creases evenly. Don’t force it; let the creases guide you.
- Messy Petal Folds (Step 9): The Petal Fold can be tricky the first few times you do it. If the sides don’t fold in neatly, or if the top flap doesn’t flatten smoothly, you’ll end up with a lumpy result.
- How to avoid: Make sure you’ve unfolded completely in Step 8, and that your creases from Steps 5, 6, and 7 are sharp. As you lift the bottom point in Step 9, use the existing creases as guides. Gently encourage the sides to fold inwards. The key is to let the creases do the work and then flatten the whole thing down smoothly. Don’t be afraid to press firmly once it’s aligned.
- Uneven Ears or Head (Steps 11 & 12): When folding the head and ears, it’s easy to end up with one ear higher or more pointed than the other.
- How to avoid: Pay close attention to how much paper you fold up in Step 11. Try to make it even on both sides. For the ears in Step 12, look at your model from the front and try to fold each ear to match the other. If they’re slightly uneven, a tiny trim or adjustment can often fix it.
Remember, practice makes perfect! If your first cat isn’t exactly how you envisioned, don’t get discouraged. Just grab another piece of paper and try again. You’ll get the hang of it quickly!
Varying Your Paper Cats: Endless Possibilities!
One of the best things about this origami cat is how easy it is to customize!
- Size: As mentioned, start with 6-inch squares. For smaller, daintier cats, try 3-inch (7.5 cm) squares. For larger, more prominent decorations, use 8-inch (20 cm) or even 10-inch (25 cm) squares. Be aware that larger paper might require a bit more effort to make very crisp folds.
- Paper Pattern: This is where the fun really begins!
- Floral patterns: Create whimsical, spring-themed cats.
- Geometric patterns: For a modern, graphic look.
- Animal prints: Make a safari cat collection!
- Solid colors: Classic and always chic. Mix and match colors for different cats.
- Metallic or glitter paper: For a touch of sparkle and glamour.
- Color: Beyond the paper itself, you can add color with markers after folding. You could color the ears a different shade, add stripes, or create intricate face details.
Think about creating a family of cats in different colors and patterns!
Displaying and Gifting Your Creations
These little paper roll cats are so versatile and make wonderful gifts.
- Desk Buddies: Place them on your desk, bookshelf, or windowsill as charming little companions. They add a touch of handmade cheer to any space.
- Party Favors: For a child’s birthday party, small origami cats can be delightful party favors that guests can take home.
- Gift Toppers: Tie one to the top of a gift for a personal and artistic touch. It’s like a little bonus gift!
- Greeting Cards: Glue a tiny cat onto a handmade card for a truly unique creation.
- Home Decor: Create a collection of cats in coordinating colors and arrange them on a shelf or mantelpiece for a whimsical display. You could even string them together to make a garland!
- Seasonal Decorations: Use themed paper – think festive colors for holidays, or pastel colors for Easter – to create seasonal cat decorations.
I hope you’ve enjoyed learning how to make these adorable Paper Roll Cats! They’re a simple yet incredibly satisfying origami project. Happy folding, and may your creations bring as much joy to you as they do to me!
Conclusion
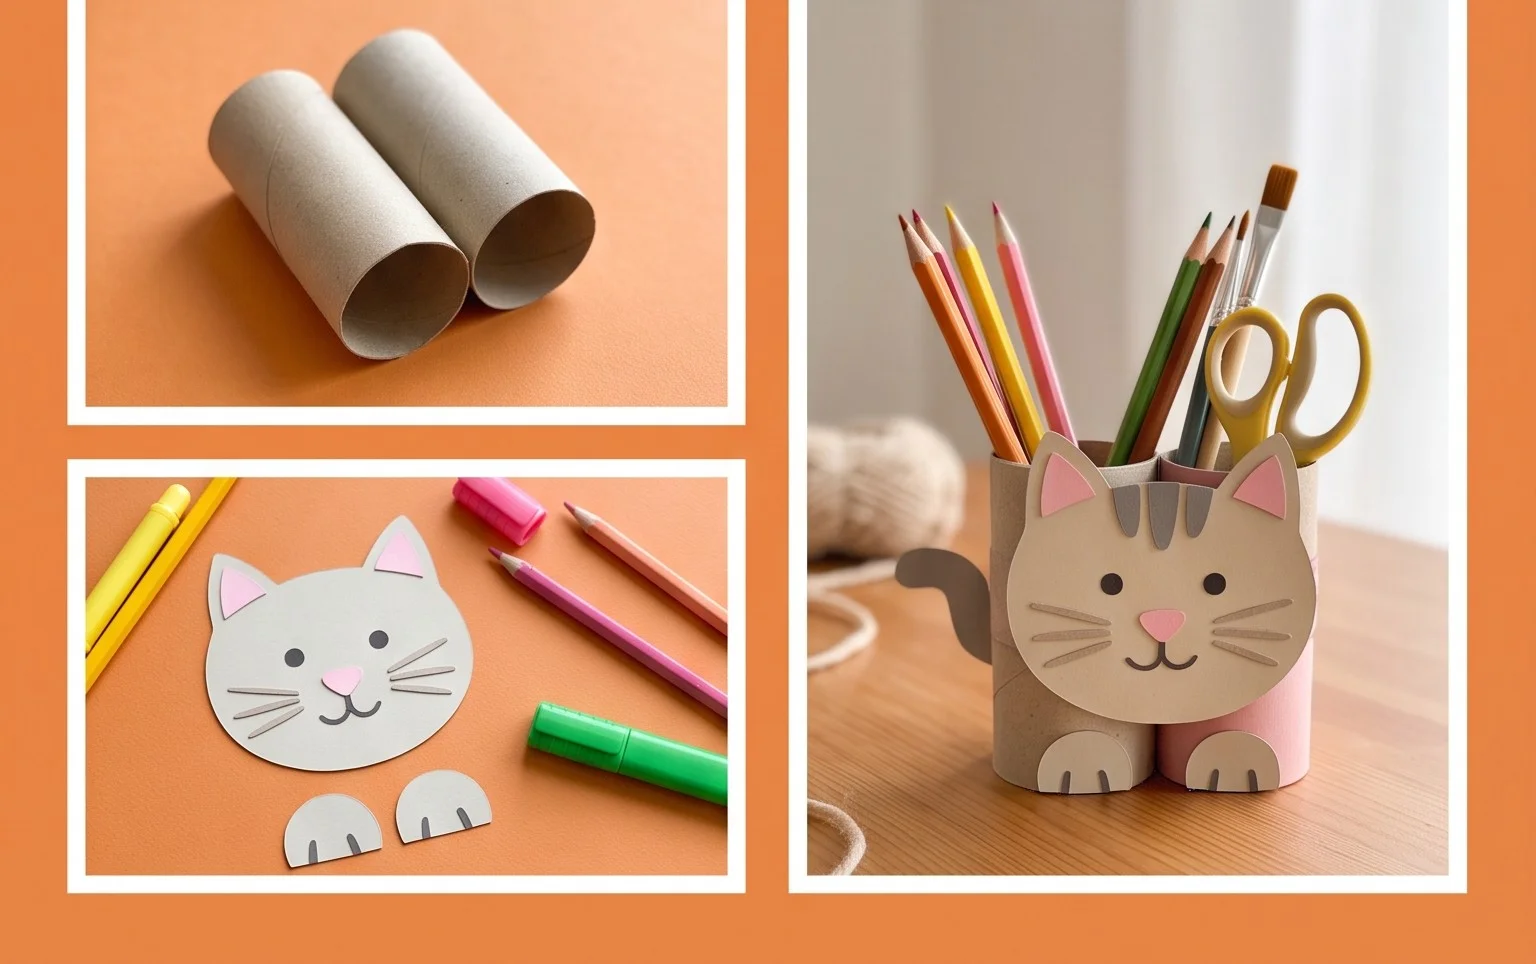
And there you have it – your very own adorable paper roll cat craft! We hope you had a fantastic time bringing this feline friend to life. Remember, your first attempt is all about learning and having fun, so don’t worry if it’s not perfect. The magic of origami is in the process! We’d love to see your finished creation; feel free to share your paper cat with us!
Feeling inspired? Why not try a sleeping cat variation or perhaps a mischievous jumping cat next? The possibilities with paper are endless. Come back and explore even more delightful paper projects with us soon!