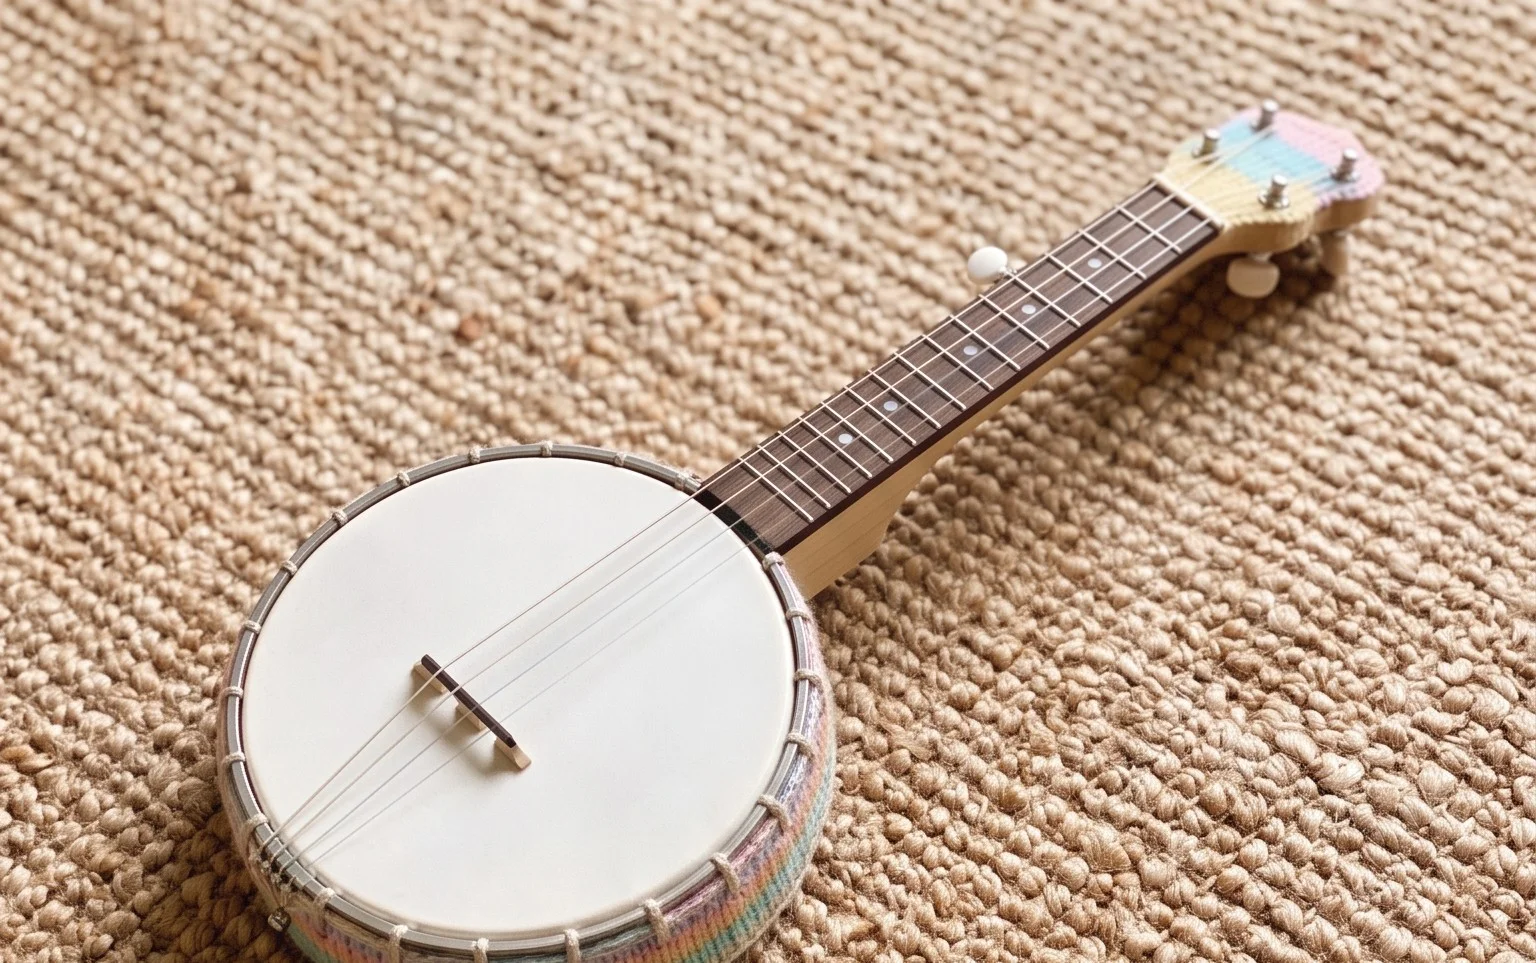
How to make a mini lid banjo! Get ready to strum up some fun with this delightful little origami creation. Imagine a charming, miniature banjo, complete with a round, flat “lid” and a simple, elegant neck – perfect for tiny hands or as a sweet desk decoration. This project is wonderfully suited for complete beginners and kids, and with its quick assembly, you can whip up a batch of these in about 10-15 minutes each. Throughout this tutorial, we’ll guide you through simple folds and easy-to-follow steps to bring your own little banjo to life. Let’s grab some paper and get folding – you’ll be amazed at what you can create!
Crafting Your Own Tiny Banjo with a Lid: A Fun Origami Project
Hello origami enthusiasts! Today, we’re going to embark on a delightful crafting journey to create a miniature banjo, complete with a little lid. This project is wonderfully charming and surprisingly simple once you get the hang of it. It’s the perfect way to add a touch of whimsical artistry to your desk, or to create a unique, handcrafted gift. Don’t worry if you’re new to origami; I’ll guide you through each step with clear, plain language, assuming you have no prior experience. Let’s dive in and bring this tiny musical marvel to life!
Choosing Your Paper: The Foundation of Your Banjo
The paper you choose is crucial for a successful and aesthetically pleasing origami banjo. For this mini lid banjo, I recommend starting with standard origami paper.
Type and Weight: Origami paper is ideal because it’s thin enough to allow for multiple folds without becoming too bulky, yet strong enough to hold crisp creases. It typically weighs around 70-80 gsm (grams per square meter). You can also experiment with slightly heavier paper for a more robust model, but be mindful that very thick paper can make intricate folds difficult.
Size: For this mini banjo, a square piece of paper around 15 cm x 15 cm (or 6 inches x 6 inches) is a great starting point. This size produces a delightfully pocket-sized banjo. If you want a larger banjo, simply scale up the paper size. A good rule of thumb is that the finished model will be roughly one-third to one-quarter of the original paper’s diagonal.
Single or Double-Sided: For this particular model, single-sided origami paper is perfectly fine. The inside of the banjo body will be the same color as the outside. However, if you want to add an extra layer of visual interest, you could use double-sided paper where the colors contrast. This would mean the inside of the banjo body would show the other color, which can be a lovely effect. Ultimately, the choice is yours and depends on the look you’re going for!
The Base Folds: Building the Structure
Before we begin the step-by-step folding sequence, let’s familiarize ourselves with a couple of essential base folds that will form the foundation of our banjo. Making these folds cleanly is key to a neat final model.
The Preliminary Base: This is a fundamental origami base that we’ll use for the main body of the banjo.
1. Start with your square paper, colored side up (if using single-sided paper).
2. Fold the paper in half diagonally by bringing one corner to meet the opposite corner. Crease firmly. Unfold.
3. Now, fold the paper in half diagonally again, bringing the other pair of opposite corners together. Crease firmly. Unfold. You should now have an ‘X’ crease pattern on your paper.
4. Flip the paper over so the white side is facing up.
5. Fold the paper in half horizontally by bringing the bottom edge up to meet the top edge. Crease firmly. Unfold.
6. Fold the paper in half vertically by bringing the left edge to meet the right edge. Crease firmly. Unfold. You should now have a ‘+’ crease pattern on the white side.
7. Now, bring the four corners together at the center. This is where the existing creases help. Gently push the sides inwards along the horizontal and vertical creases. The diagonal creases will help the paper collapse. You should end up with a smaller square with four flaps. This is your preliminary base.
The Square Base: This is a variation of the preliminary base and will form the lid of our banjo.
1. Start with your square paper, colored side up.
2. Fold the paper in half horizontally by bringing the bottom edge to meet the top edge. Crease firmly. Unfold.
3. Fold the paper in half vertically by bringing the left edge to meet the right edge. Crease firmly. Unfold. You should have a ‘+’ crease pattern.
4. Bring all four corners to meet at the center point where the creases intersect. Crease each fold firmly. You will have a smaller square with four smaller triangles.
Step-by-Step Folding Sequence: Bringing Your Banjo to Life
Now that we’re comfortable with the base folds, let’s start assembling our mini lid banjo! Remember to crease each fold firmly to ensure your model holds its shape.
1. Start with your preliminary base, with the open edges facing you. This means the point where all the flaps meet should be pointing away from you. The flaps should be on the bottom.
2. Take the top flap on the right side and fold its bottom edge to meet the center vertical crease. Crease firmly.
3. Repeat step 2 with the top flap on the left side, folding its bottom edge to meet the center vertical crease. Crease firmly. You should now have two triangular flaps meeting at the center.
4. Take the top layer of the very right corner and fold it down so that its bottom edge aligns with the bottom edge of the previous fold you just made. Crease firmly.
5. Repeat step 4 with the top layer of the very left corner, folding it down so its bottom edge aligns with the bottom edge of the fold you just made on the right. Crease firmly.
6. Now, you should have two flaps sticking out at the top. Take the right flap and fold it over to the left, tucking it neatly against the center. Crease firmly.
7. Repeat step 6 with the left flap, folding it over to the right and tucking it neatly against the center. Crease firmly. You should now have a kite-like shape at the top.
8. Now, we need to create the neck of the banjo. Take the entire model and fold it in half upwards, bringing the bottom point (where the open edges are) up to meet the top point. Crease firmly.
9. Flip the entire model over.
10. You’ll see a flap sticking out at the top. This is going to be the headstock of our banjo. Fold this flap downwards, creating a small tab. The size of this fold determines how prominent the headstock is. Crease firmly.
11. Now, for the body of the banjo. Open up the model slightly. You’ll see where you folded it in half in step 8. Unfold this crease completely. This will allow you to form the banjo body.
12. Gently push the sides inwards along the existing creases, allowing the top part of the model to form a ‘pocket’. This pocket will be the main body of your banjo. Flatten it down carefully. The top point should now be a flat edge.
13. Now we need to make the lid. Take the square base you made earlier (or a new 15cm x 15cm square if you prefer a different color).
14. Fold this square in half horizontally, bringing the bottom edge to meet the top edge. Crease firmly.
15. Fold this rectangle in half vertically, bringing the left edge to meet the right edge. Crease firmly. You now have a smaller square.
16. Open up the last fold. Take the top layer of the right edge and bring it to meet the center vertical crease. Crease firmly.
17. Repeat step 16 with the top layer of the left edge, bringing it to meet the center vertical crease. Crease firmly. You should now have two triangular flaps at the top of this smaller square.
18. Take the top right flap and fold it back on itself along the edge where it meets the center. Crease firmly.
19. Repeat step 18 with the top left flap. Crease firmly.
20. Now, take the entire lid model and fold it in half horizontally, bringing the bottom edge up to meet the top edge. Crease firmly.
21. To attach the lid to the banjo body, take the banjo body and insert the folded lid into the pocket you created in step 12. You can tuck it in as far as you like to make the lid more or less prominent. Gently press the sides of the banjo body around the lid to secure it.
Common Pitfalls and How to Avoid Them
Even with clear instructions, beginners can sometimes stumble. Here are a couple of places where you might encounter a little difficulty, and how to easily overcome them:
1. Crisp Creases: The most common issue for beginners is not making their creases sharp enough. Origami models rely on precise folds to hold their shape.
* How to avoid: Use your fingernail or a bone folder (if you have one) to run along each crease firmly. Don’t be afraid to press down! For trickier folds, like those involving multiple layers of paper, try creasing multiple times. This will make your banjo look much neater and more professional.
2. Misaligning Corners and Edges: When you’re asked to bring a corner to an edge, it’s easy to be slightly off, especially when you’re new to it.
* How to avoid: Take your time! Before you commit to a crease, hold the paper in place and visually check that the corner is precisely aligned with the edge. Squint a little if you need to! It’s much better to adjust before creasing than to have a wonky fold. If a fold is significantly off, it’s sometimes easier to gently unfold and re-crease.
3. Getting the Preliminary Base Wrong: The preliminary base can be a bit tricky the first time you do it. It’s the foundation for so many origami models.
* How to avoid: Pay close attention to the instructions for the preliminary base, especially the part about flipping the paper over and making the horizontal and vertical folds. The collapse into the square is the key step. Don’t force it. Let the creases guide the paper. Visualize the paper folding inwards from the sides. If it’s not collapsing easily, check that your horizontal and vertical creases are sharp and that you’ve flipped the paper correctly.
Adding Your Personal Touch: Variations to Explore
The beauty of origami is its versatility. Once you’ve mastered the basic banjo, feel free to experiment!
Size: As mentioned, simply start with a larger or smaller square piece of paper. A 7.5 cm x 7.5 cm (3 inches x 3 inches) square will yield a very tiny, adorable banjo, perfect for embellishing cards or scrapbooking. A 30 cm x 30 cm (12 inches x 12 inches) square will create a statement piece.
Paper Pattern and Color: This is where you can truly let your creativity shine!
* Patterned paper: Use paper with subtle patterns like wood grain, floral designs, or even musical notes for an extra thematic touch.
* Solid colors: Experiment with different color combinations. You could make a banjo with a bright, cheerful body and a contrasting neck.
* Metallic or iridescent paper: These can give your banjo a special, shimmering quality.
* Magazine clippings: For a truly unique look, try carefully cutting out squares from interesting magazine pages, ensuring the image or text fits well within the banjo design.
Displaying and Gifting Your Mini Banjo
Your finished origami banjo is a work of art, and it deserves to be showcased or gifted with pride!
Display:
* Desk ornament: It’s the perfect size to sit on your desk as a cheerful reminder to take a creative break.
* Shelf decoration: Group several banjos together in different colors or sizes for a charming display on a bookshelf.
* Mobile: String several together to create a whimsical origami mobile.
* Party favors: Make a batch for a music-themed party or a craft event.
Gifting:
* Card embellishment: Glue a small banjo onto a handmade birthday card or thank-you note.
* Gift topper: Instead of a traditional bow, use a beautifully folded banjo as a unique gift topper.
* Small gift: Present it alongside a small treat or a gift card.
* Conversation starter: Gift it to a musician friend who will surely appreciate the thoughtful, handmade gesture.
I hope you’ve enjoyed creating your mini lid banjo! It’s a project that brings a smile to my face every time I make one. Remember, practice makes perfect, so don’t be discouraged if your first attempt isn’t flawless. The joy of origami lies in the process and the satisfaction of creating something beautiful with your own hands. Happy folding!
Conclusion
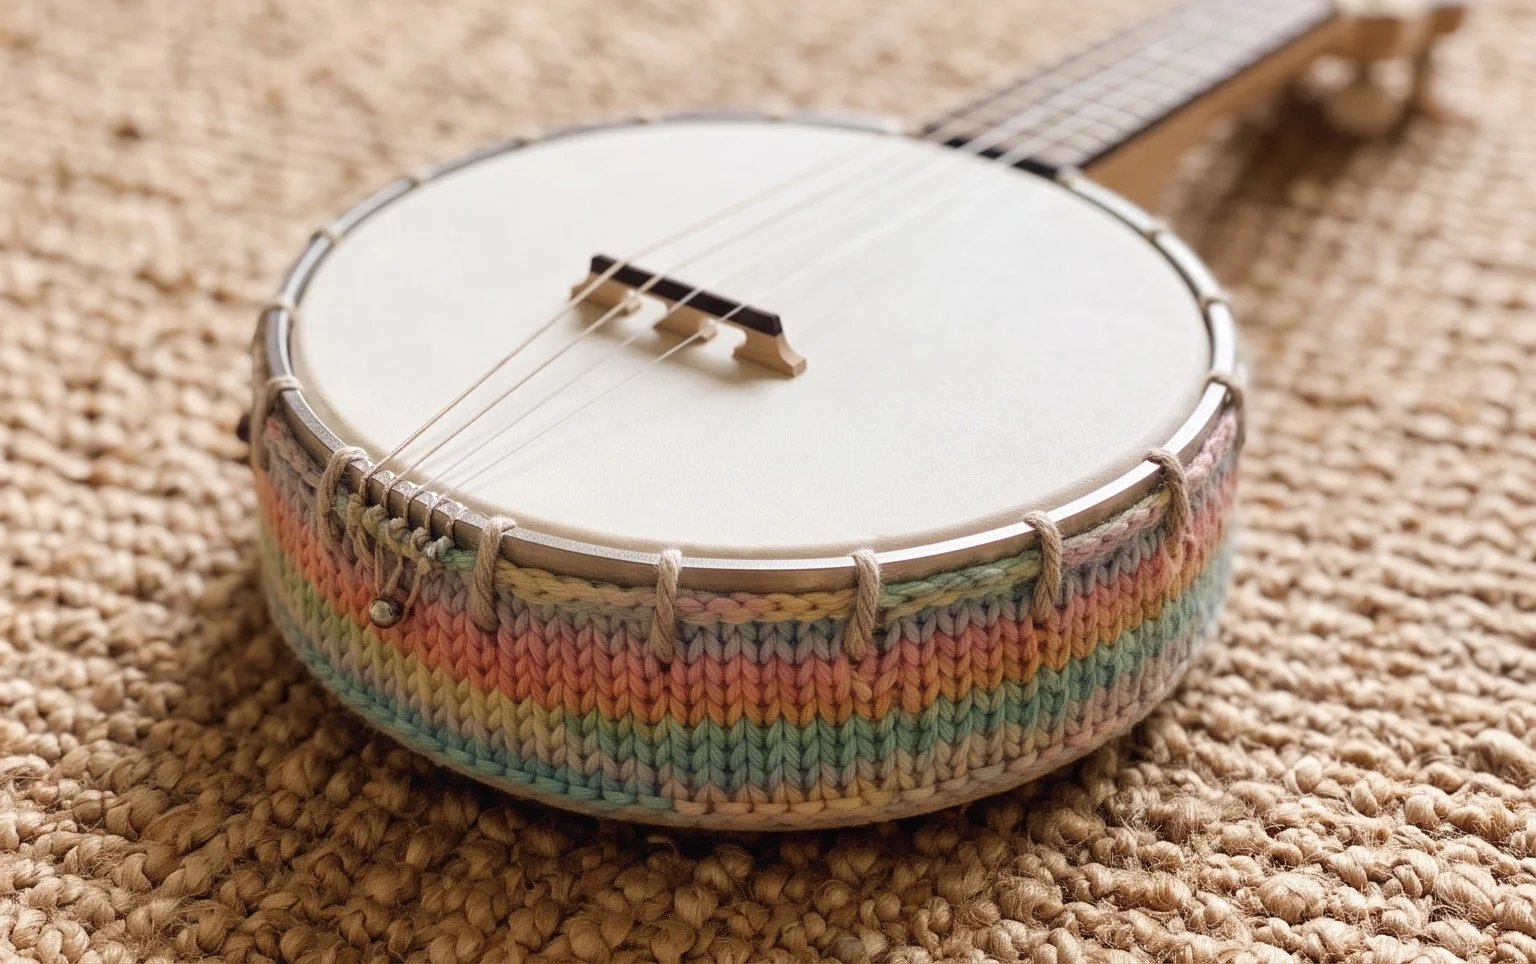
Congratulations on folding your very own mini lid banjo! We hope you enjoyed this fun and unique origami project. Don’t be discouraged if your first attempt isn’t perfect – every fold is a learning experience, and practice truly makes perfect. We’d love to see your finished mini lid banjo, so feel free to share it with friends and family! For your next crafting adventure, why not try making a slightly larger banjo, or perhaps experiment with adding decorative strings and a bridge? There are countless paper projects waiting for you to discover. Keep folding and have fun exploring the wonderful world of origami!